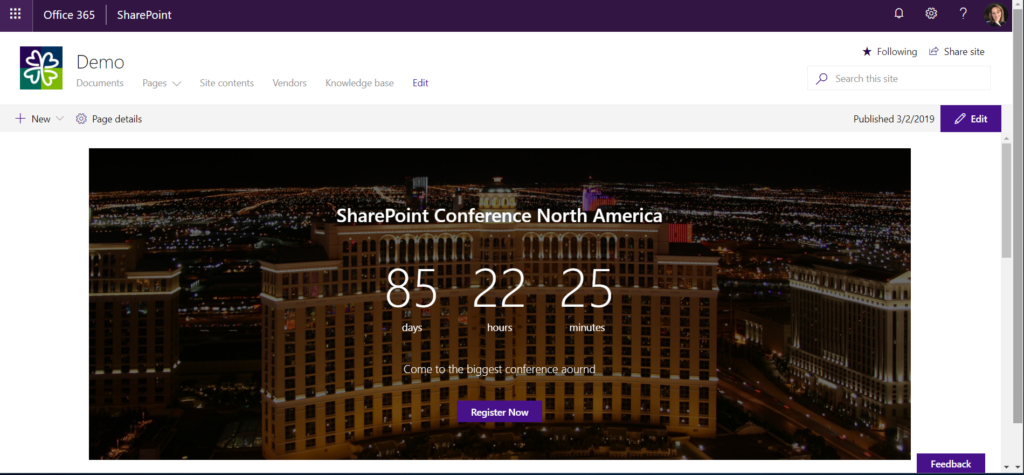
Countdown timers are a great way to engage your users, promote your event and provide a call to action. Let’s take a look at the new Countdown Timer in SharePoint.
How to Configure
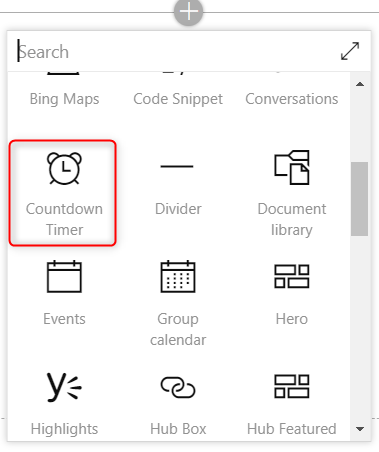
Select the canvas that you would like to add the timer to and click the “+” to open the tool box. Select “Countdown Timer” from the web part selections.
Now that you have the web part on the page, there are a couple of steps to take to configure and get it ready for action.
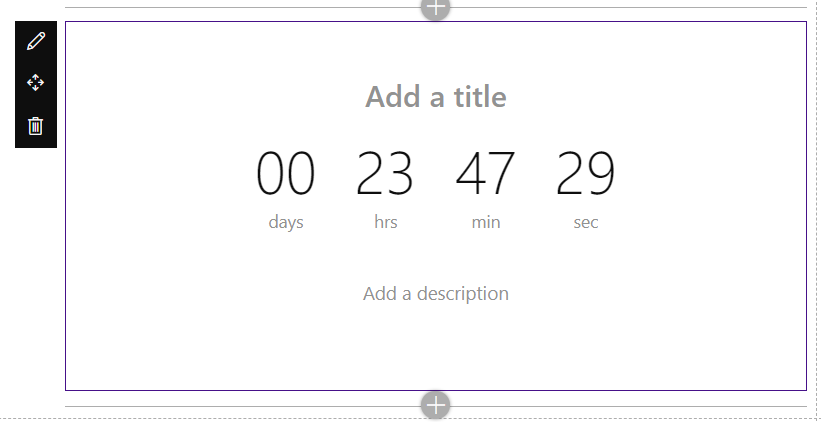
To configure, click on the pencil icon to the left of the web part to open the web part properties pane.
Type the Title of the Event directly into the web part.
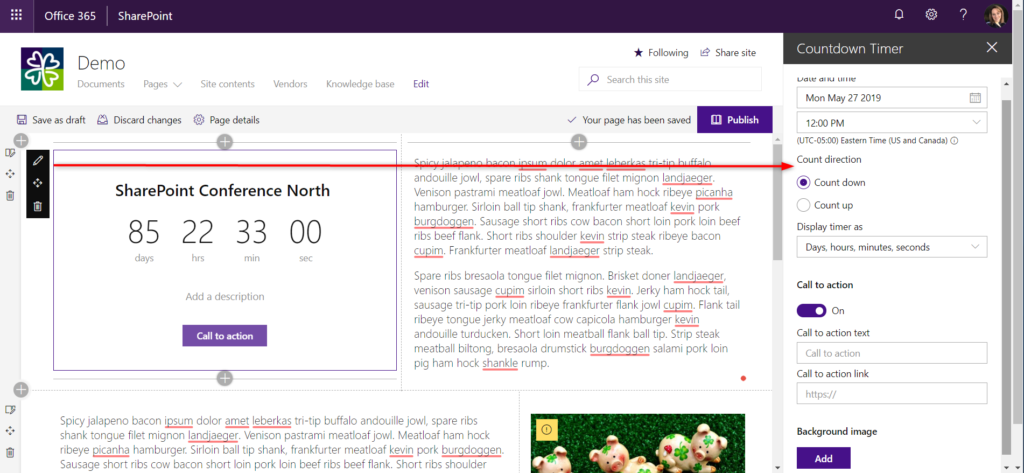
From the properties panel, configure the following:
- Select the start date of your event from the date picker.
- Select if you want to count down to the date or count up.
- Choose how you want the timer to display.
- Toggle to have a call to action and select the text to display and the link for it to navigate to.
- Select a background image. You can upload a new image or select an image from the web.
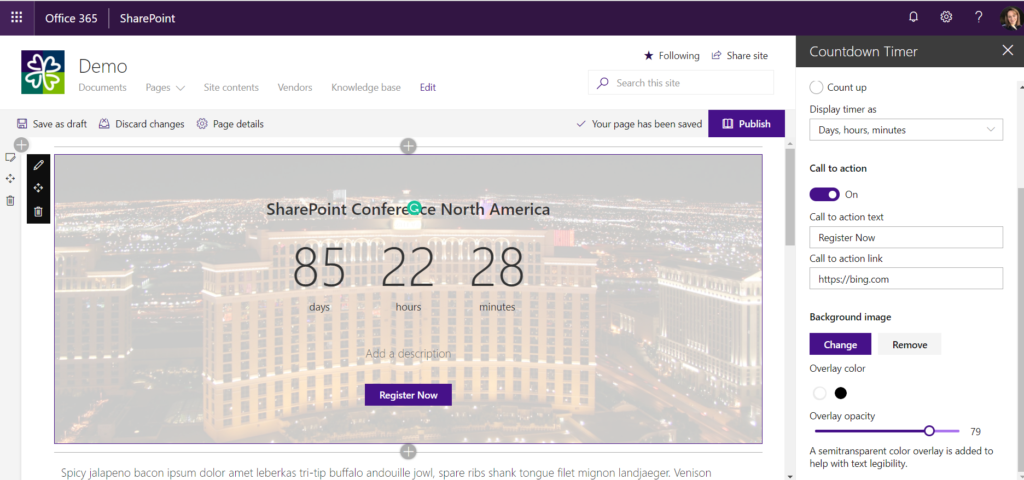
Once you add an image, you have the ability to choose from two overlays and their opacity. The white overlay will add a white layer on top and will change the text to black.
White is a great overlay for light colored images or images that do not have a busy background
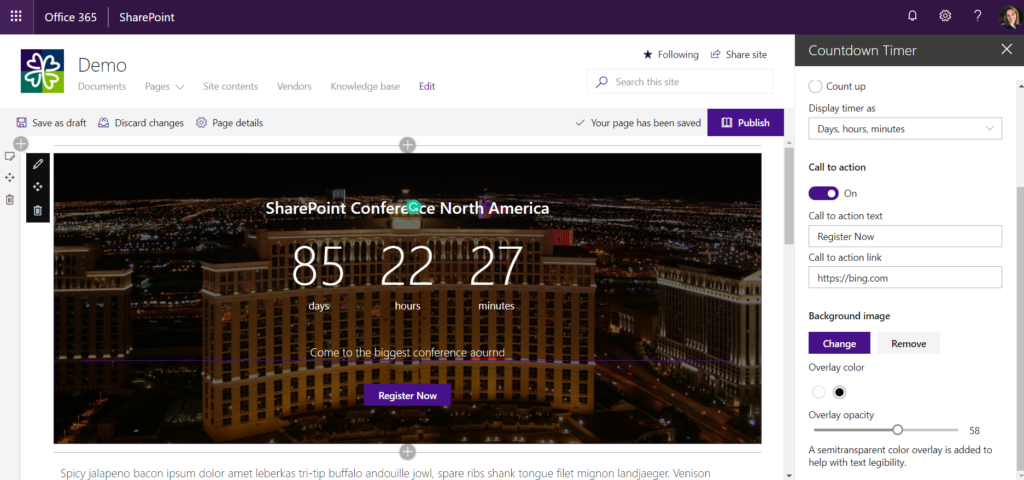
The black overlay adds a black layer on top of the image and uses white text.
Black overlays work best on darker images or images that have a busy background.
After you finish configuring your web part, remember to publish the page and promote your event to your colleagues.