The SharePoint Color Palette Tool has been offered by Microsoft to allow for easier creation of the .spcolor file that is combined to use with the Composed Looks for a basic out of the box branding experience for both SharePoint on-prem and O365.
You must first download the Color Palette Tool in order to start.
Open the color palette tool through the rich client on your computer.
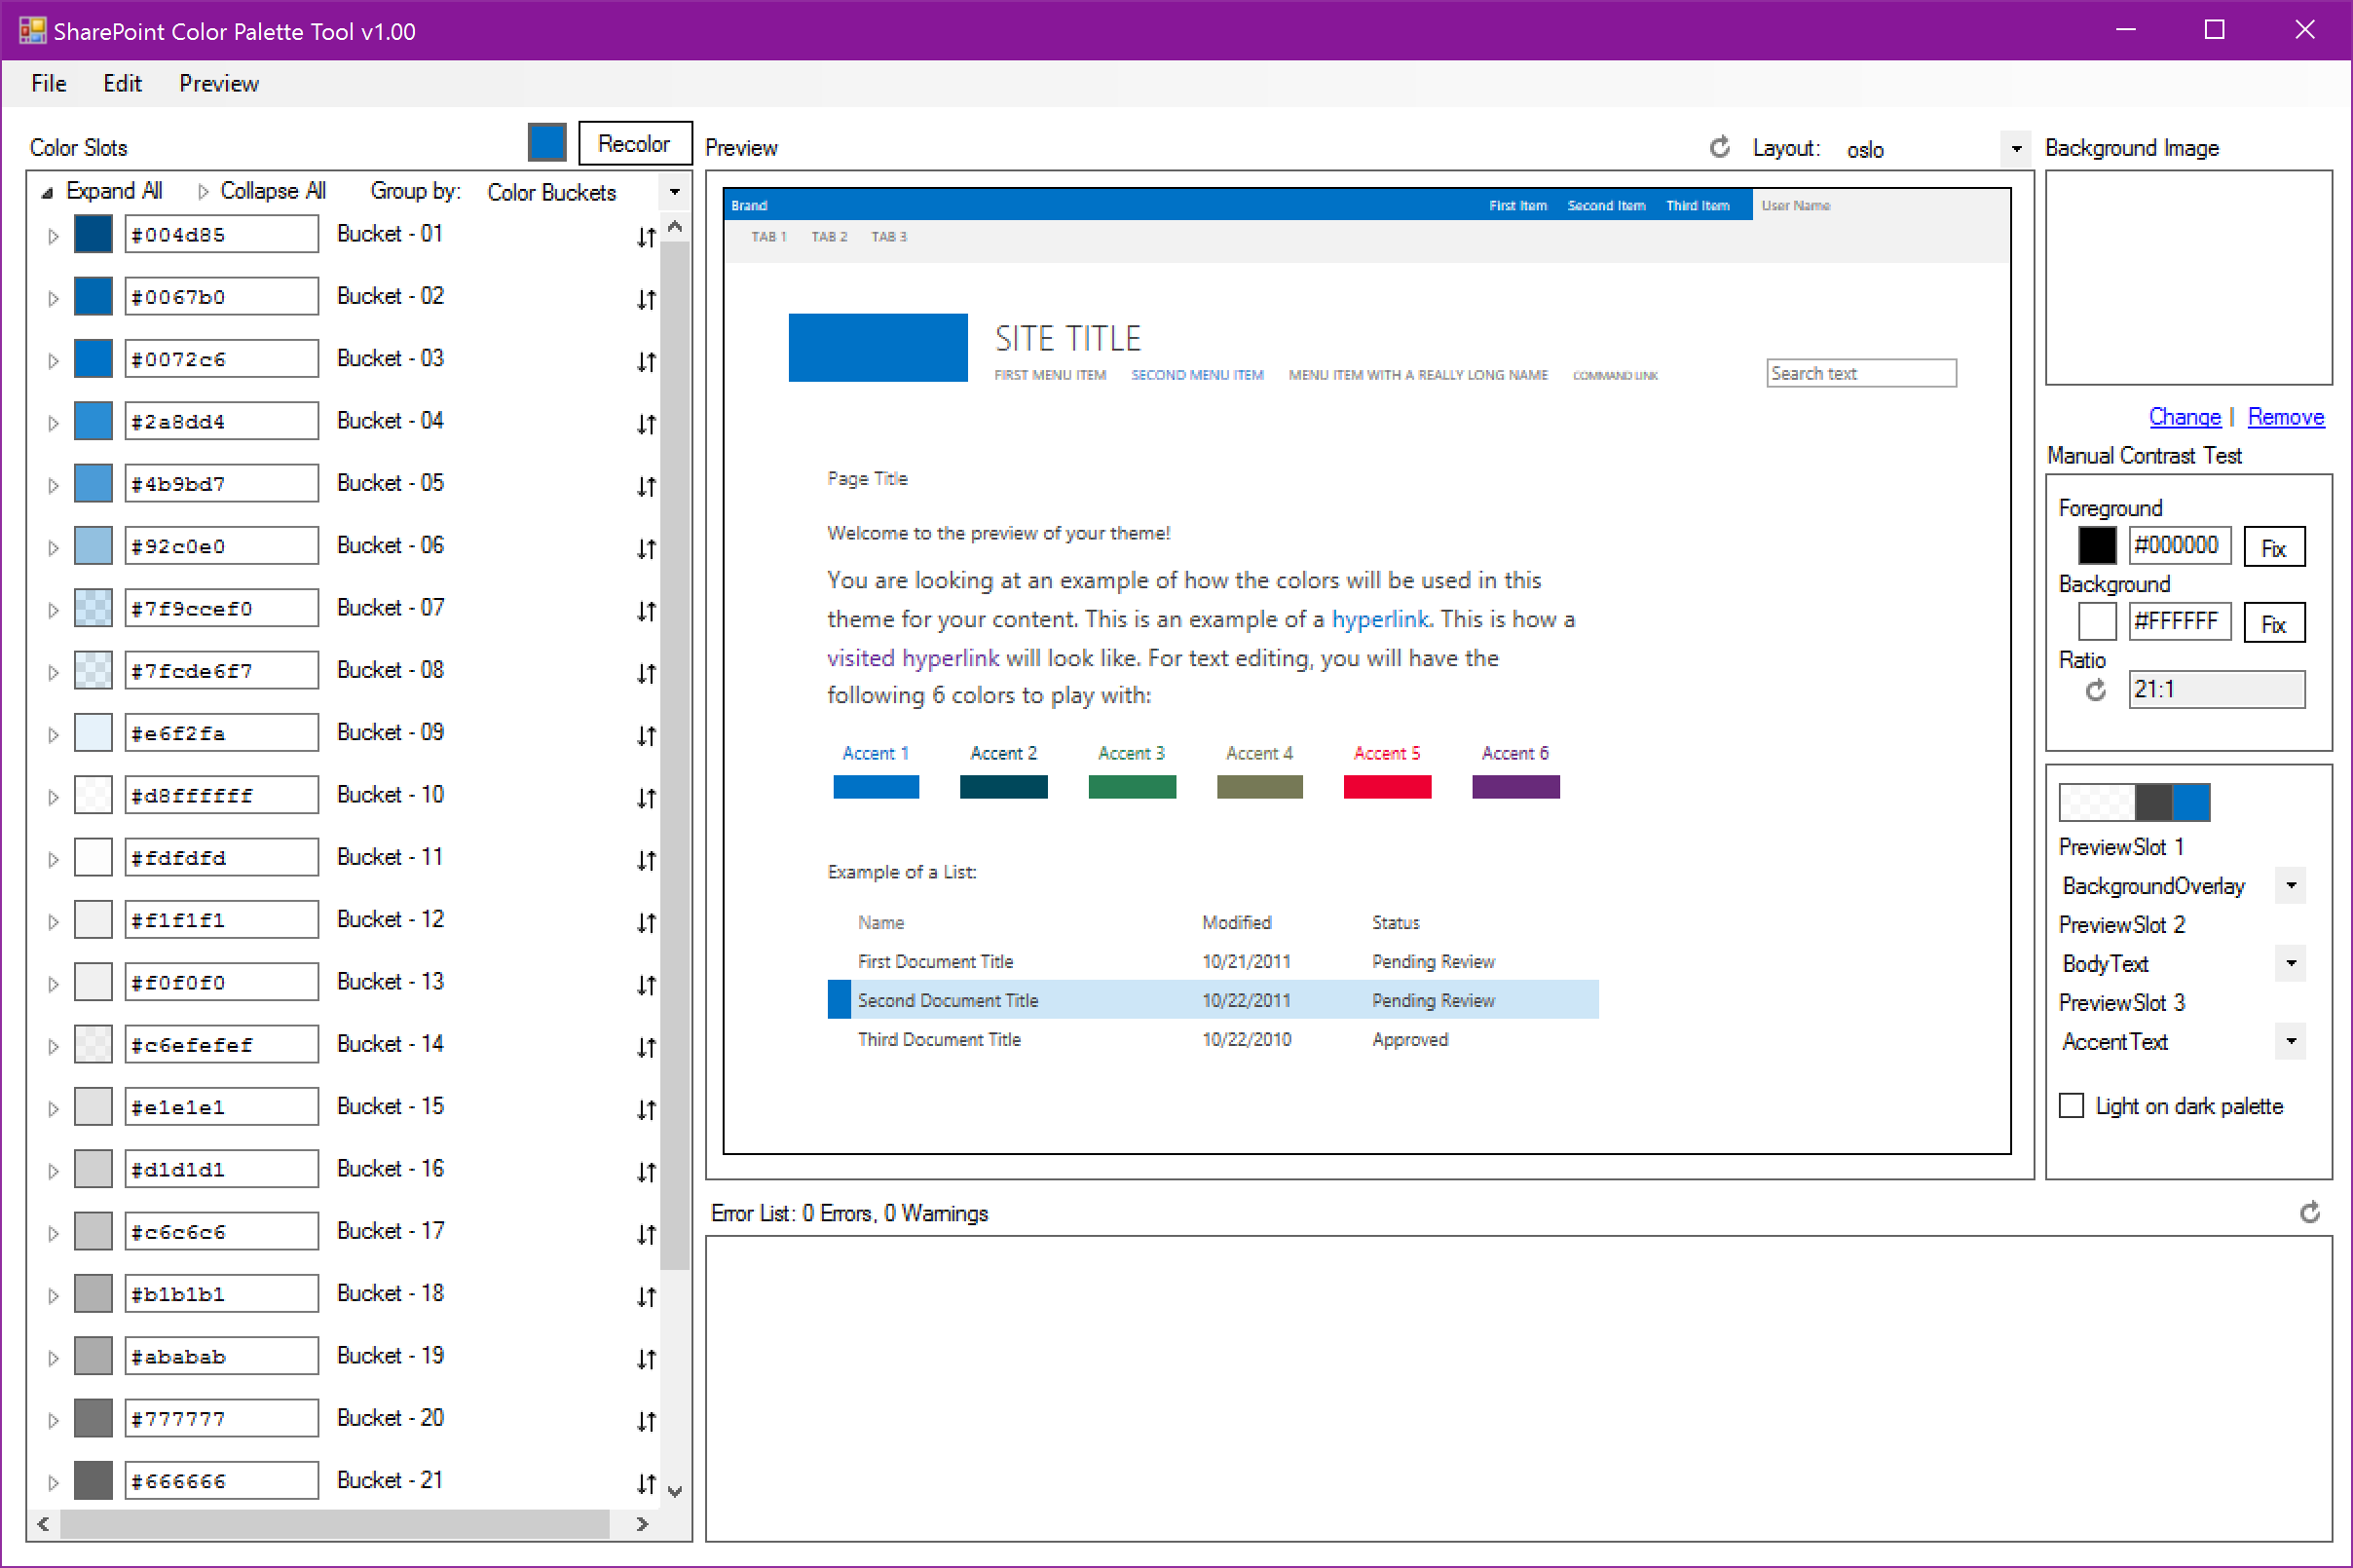
You have a few options for how to use the file. If you have one primary color that you want to build a .spcolor file around, click in the colored square next to the “recolor” button at the top of the page.

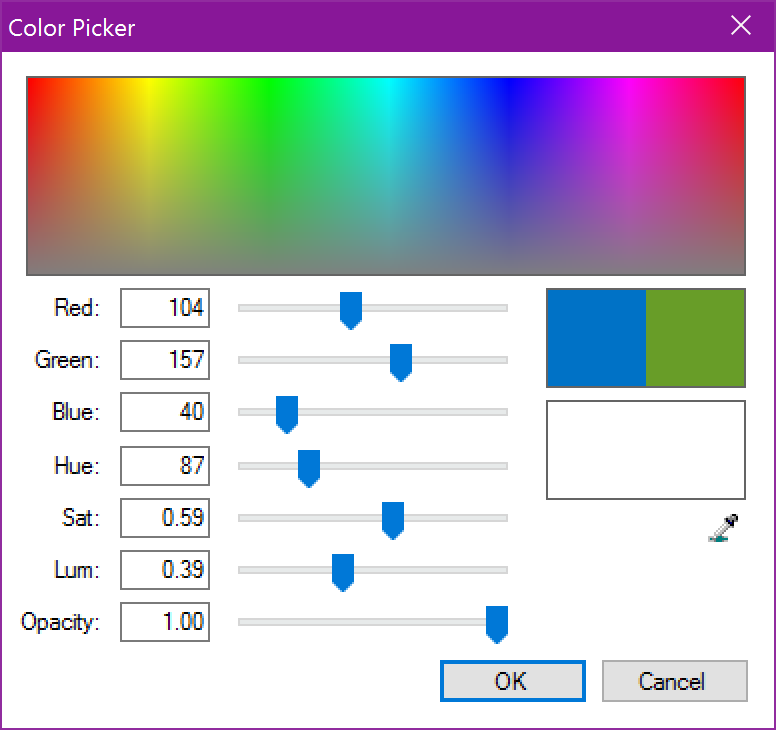
By clicking on the square, it will bring up a color picker tool. You can change the colors by RGBA or dragging your cursor over the color area. Press “OK” once you’re finished.
Your color has now been applied to the preview.
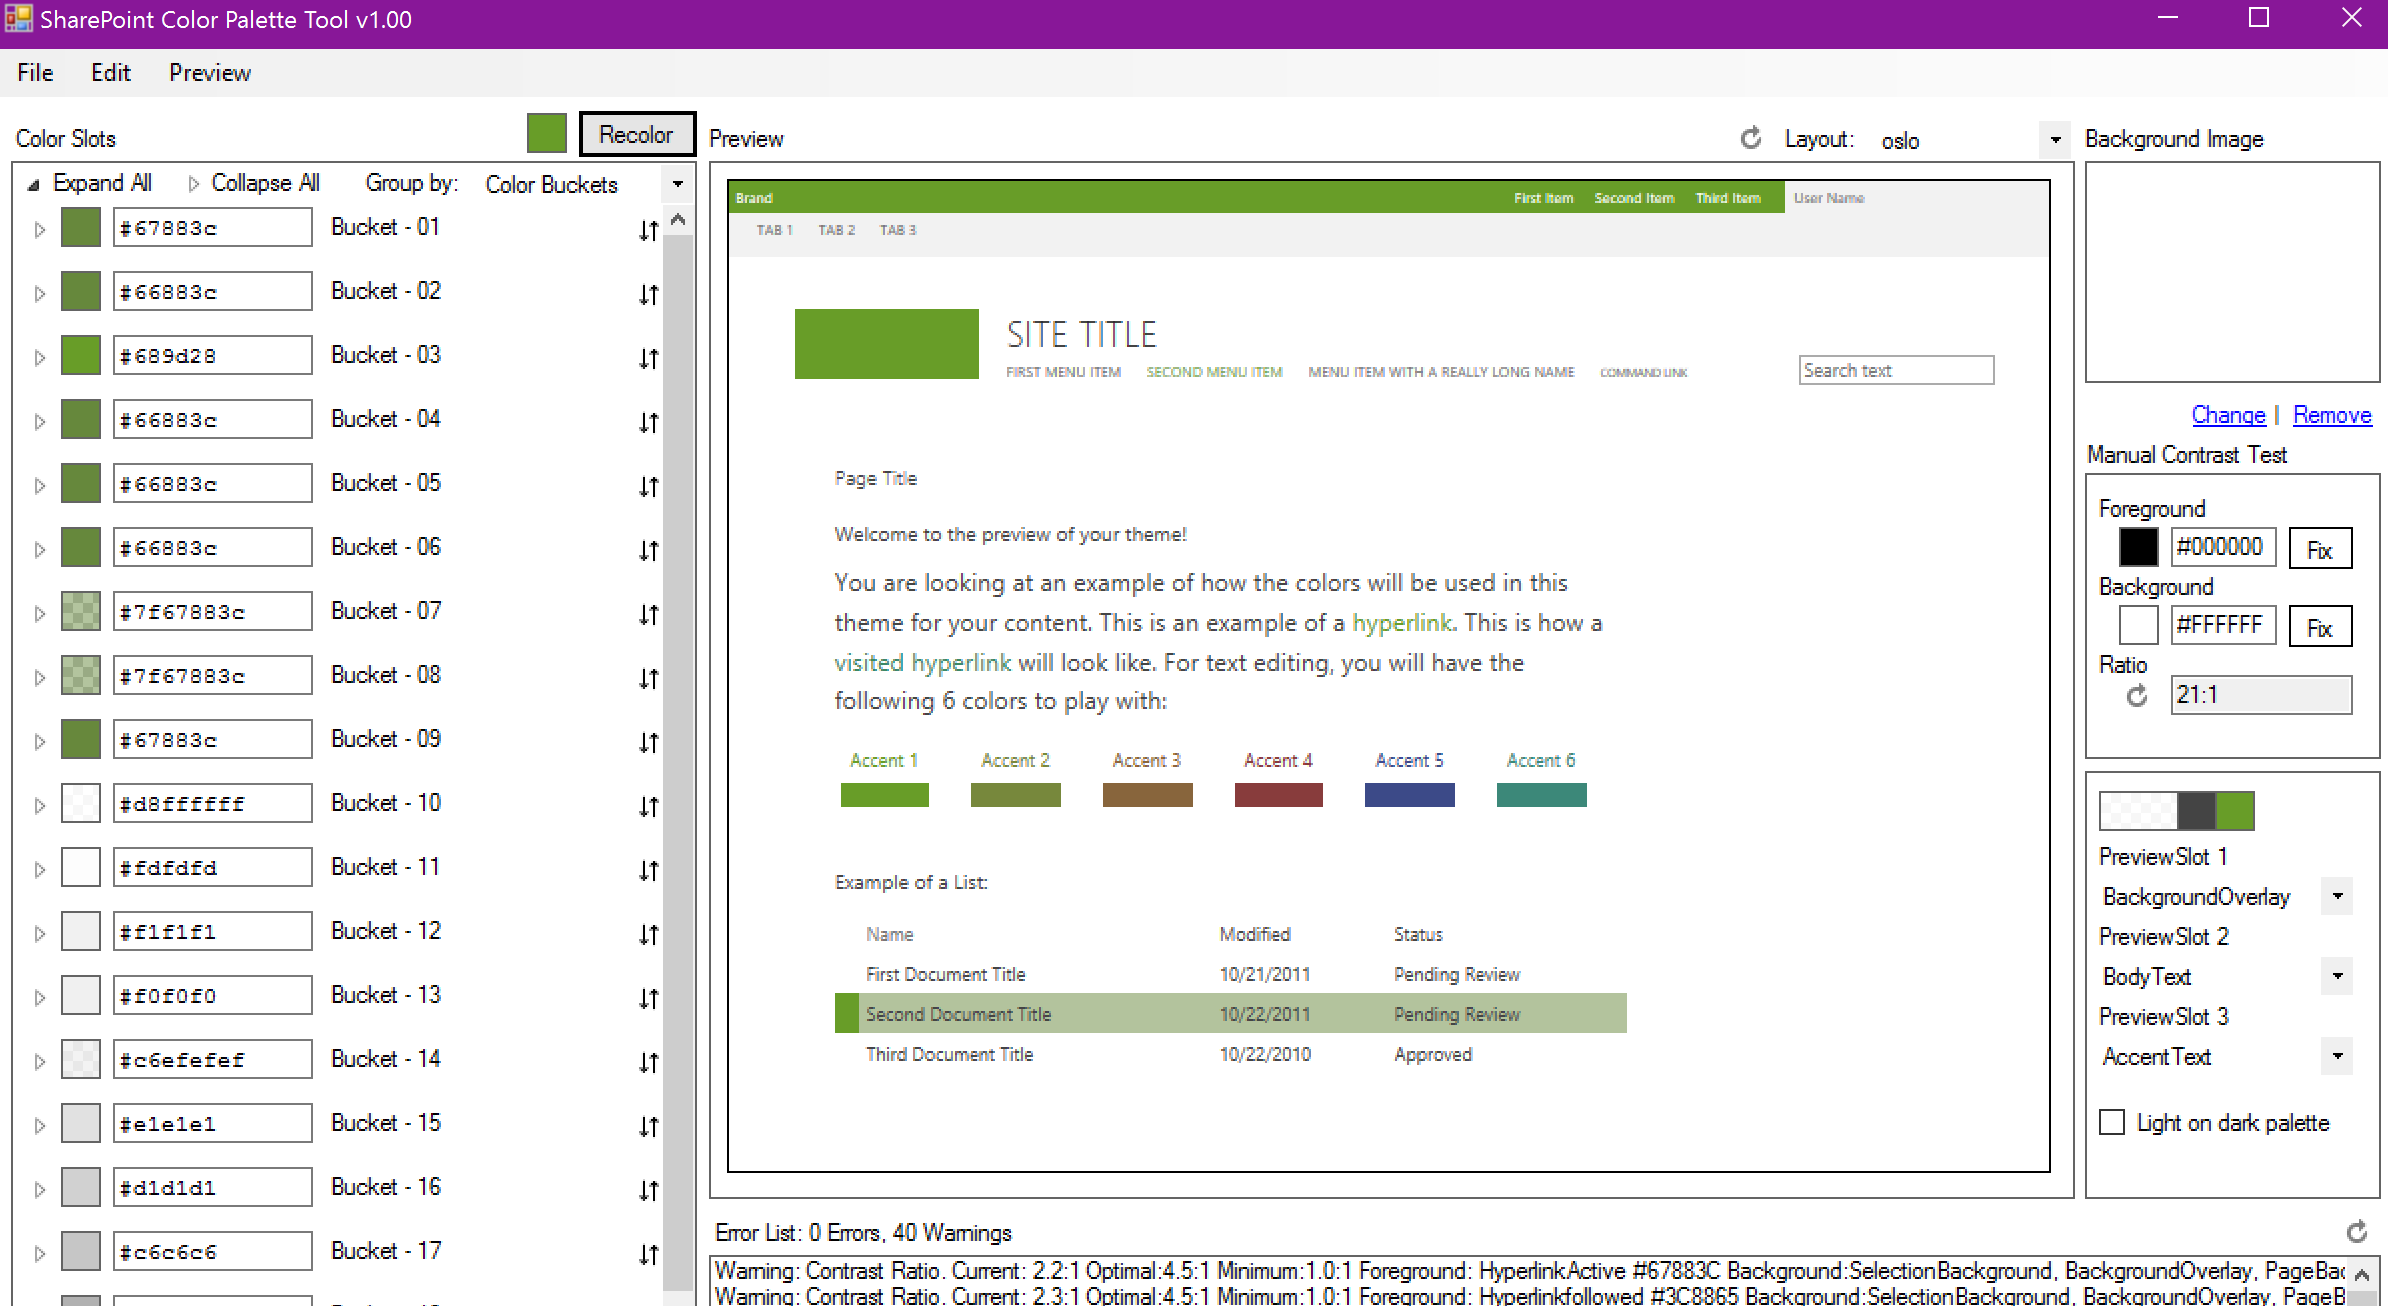
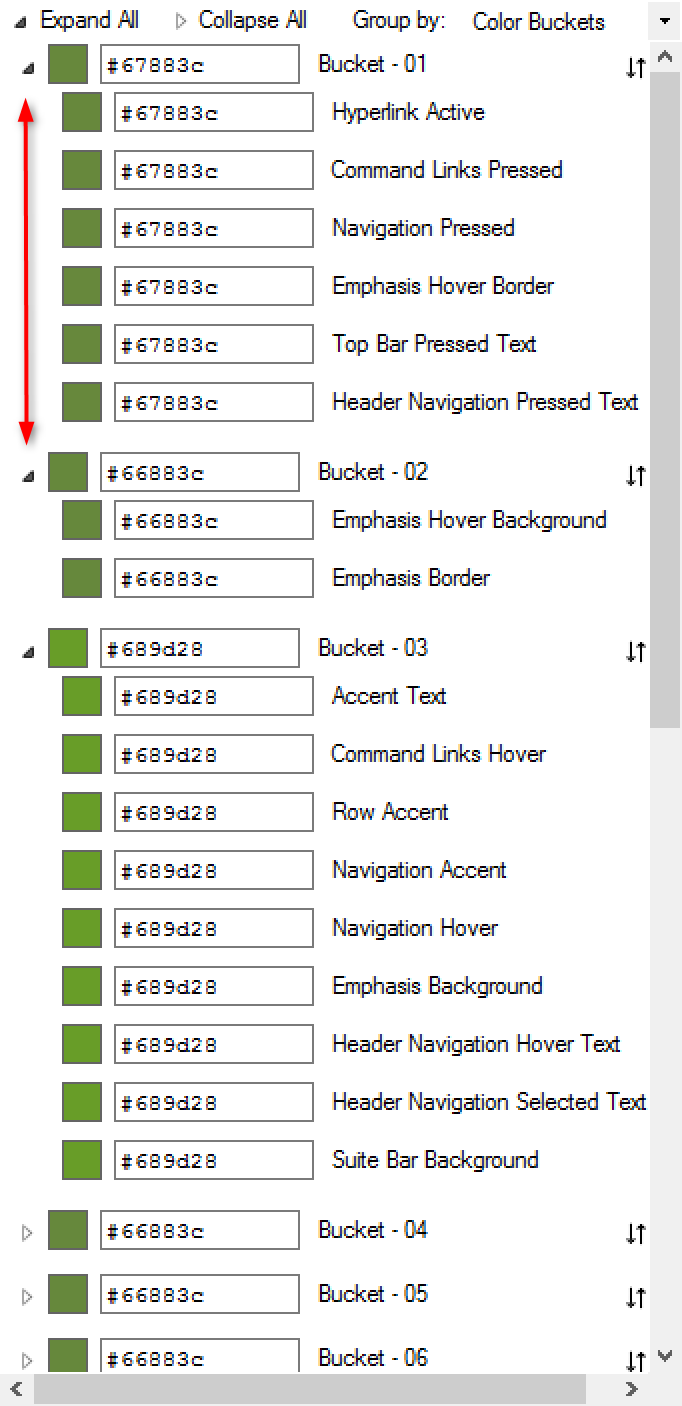
You can expand the buckets to see what color is being applied to each SharePoint item. You can choose to then adjust the colors on individual elements.
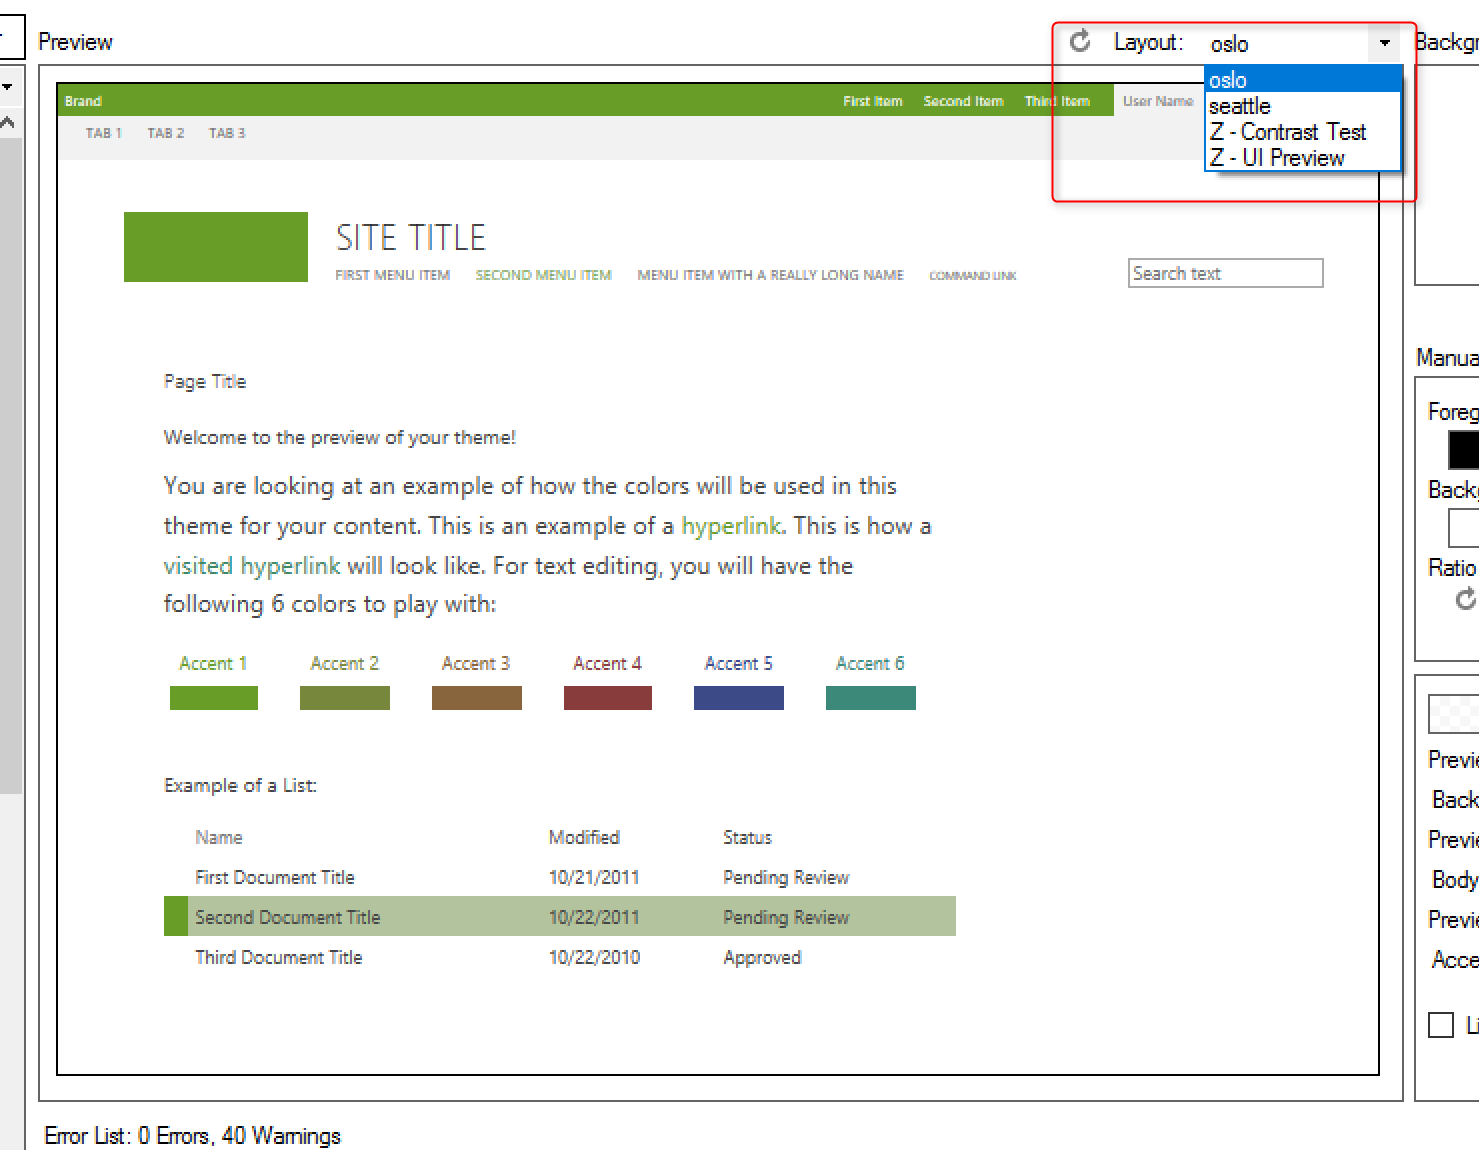
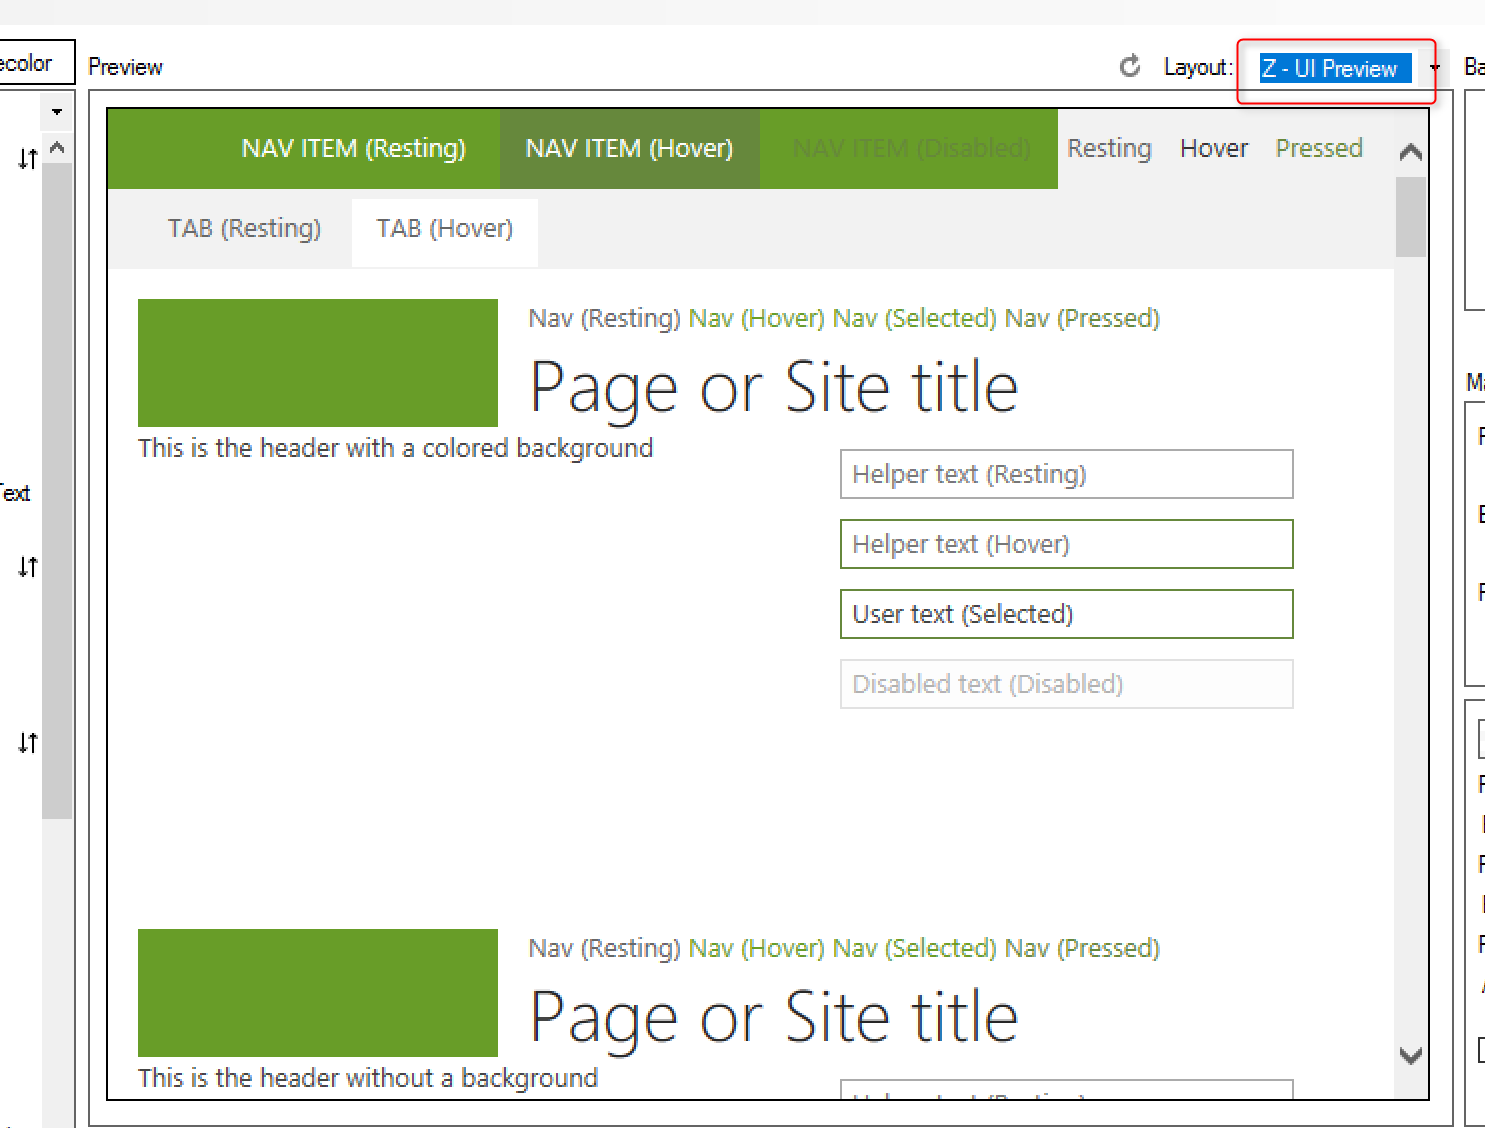
In the preview pane, you can choose to see the preview of the two out of the box master pages as well as two additional views. Click on the dropdown menu to select a different preview panel.
Once you have finished creating your color scheme. Click on the “File” tab and press “save”.
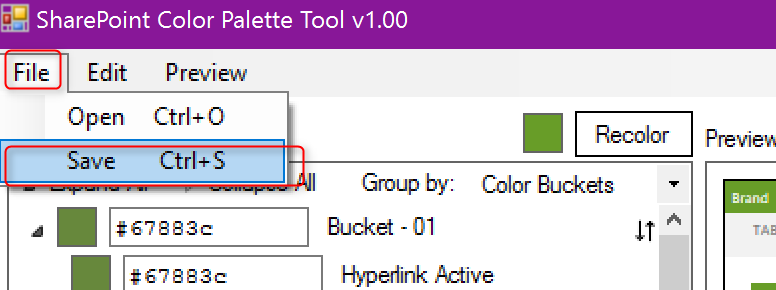
The color file will save to any location you choose and will have a file extension type yourname.spcolor
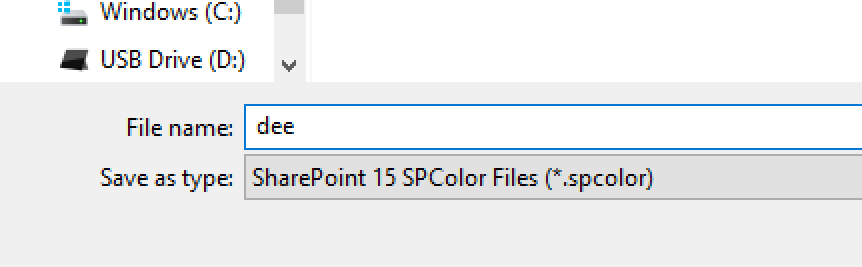
Your file have now been saved.