Modern Lists have now been enabled in O365. There is a new looks and feel, but most of the functionality has stayed the same. There are a few new features to enjoy.
Create a New List from Modern Team Site
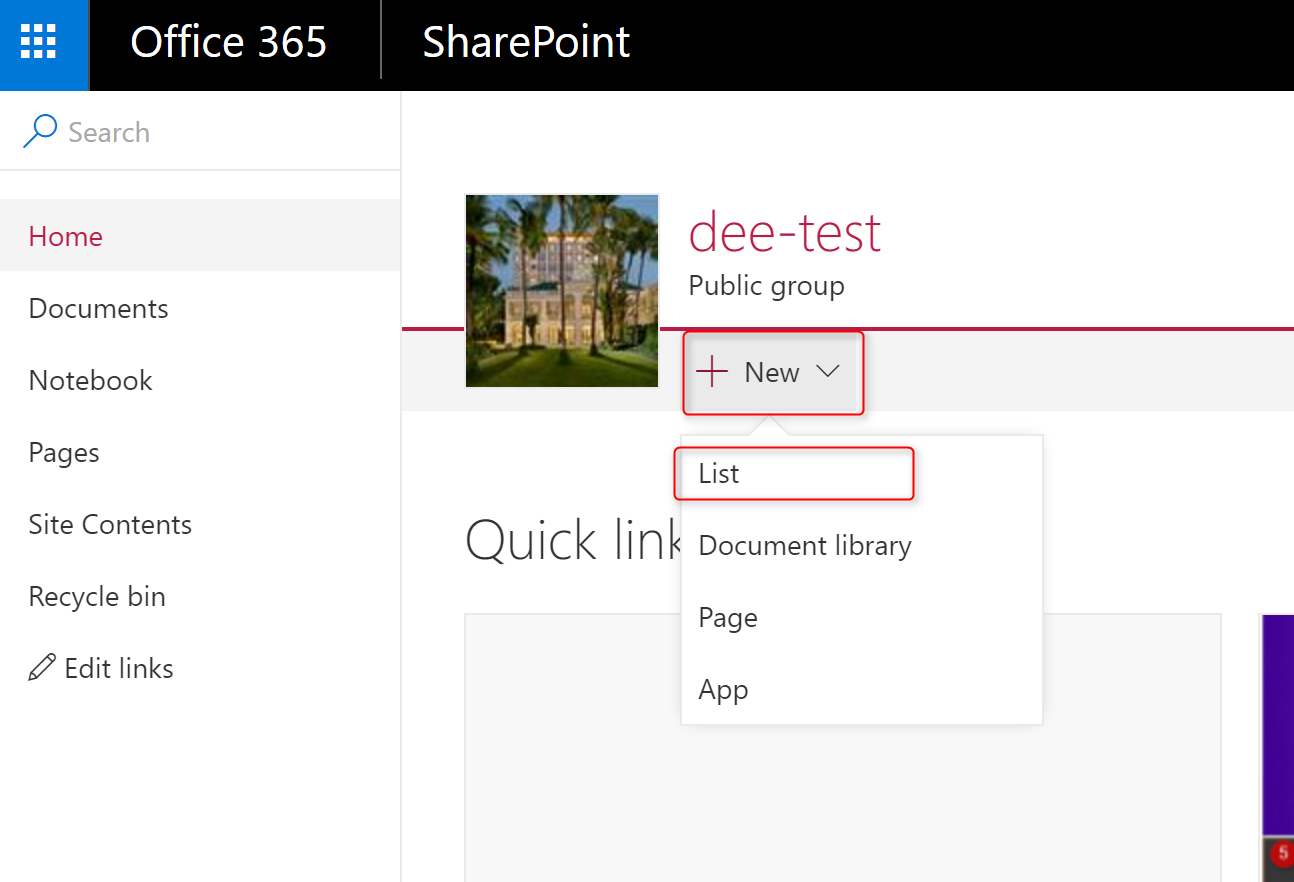
To create a new list, click on the “New” link in the menu and click “list”.
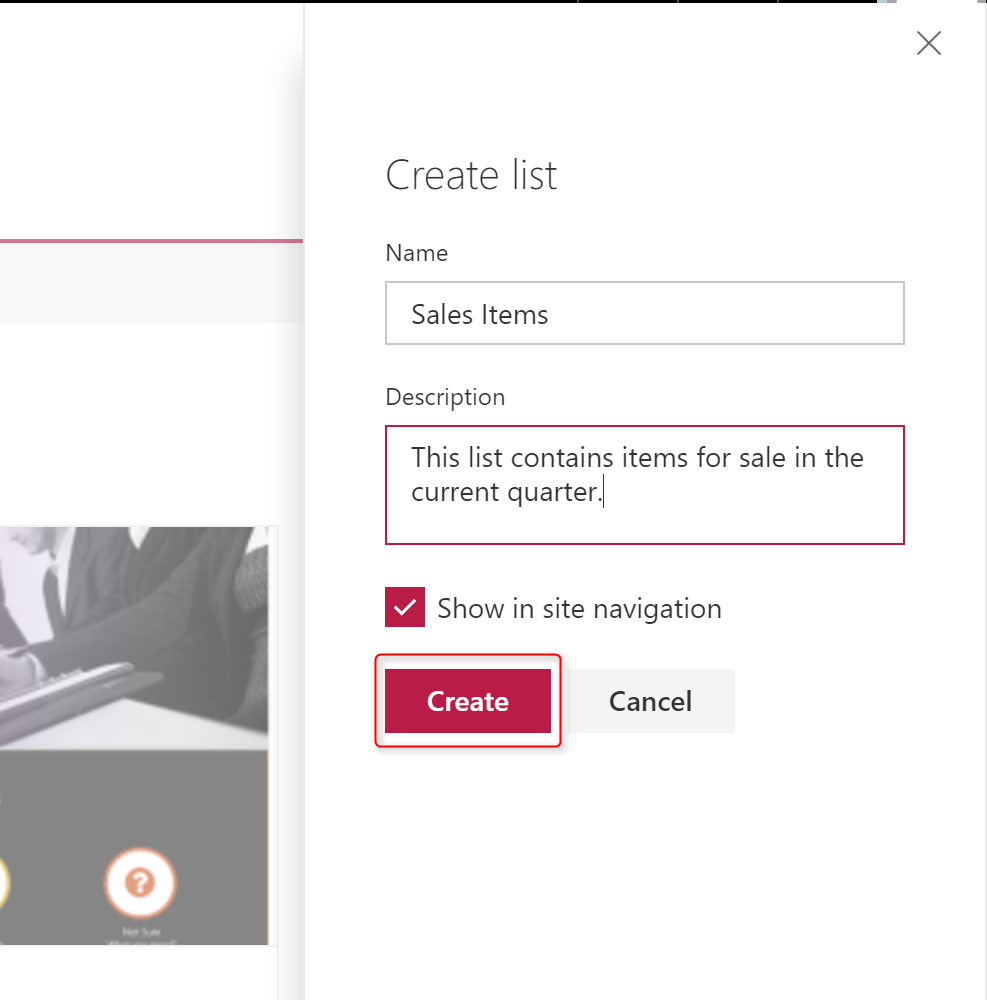
Fill out the fields on the right menu. Create a name and description for the new list. Choose if you want a link to the list to appear on the left navigation.
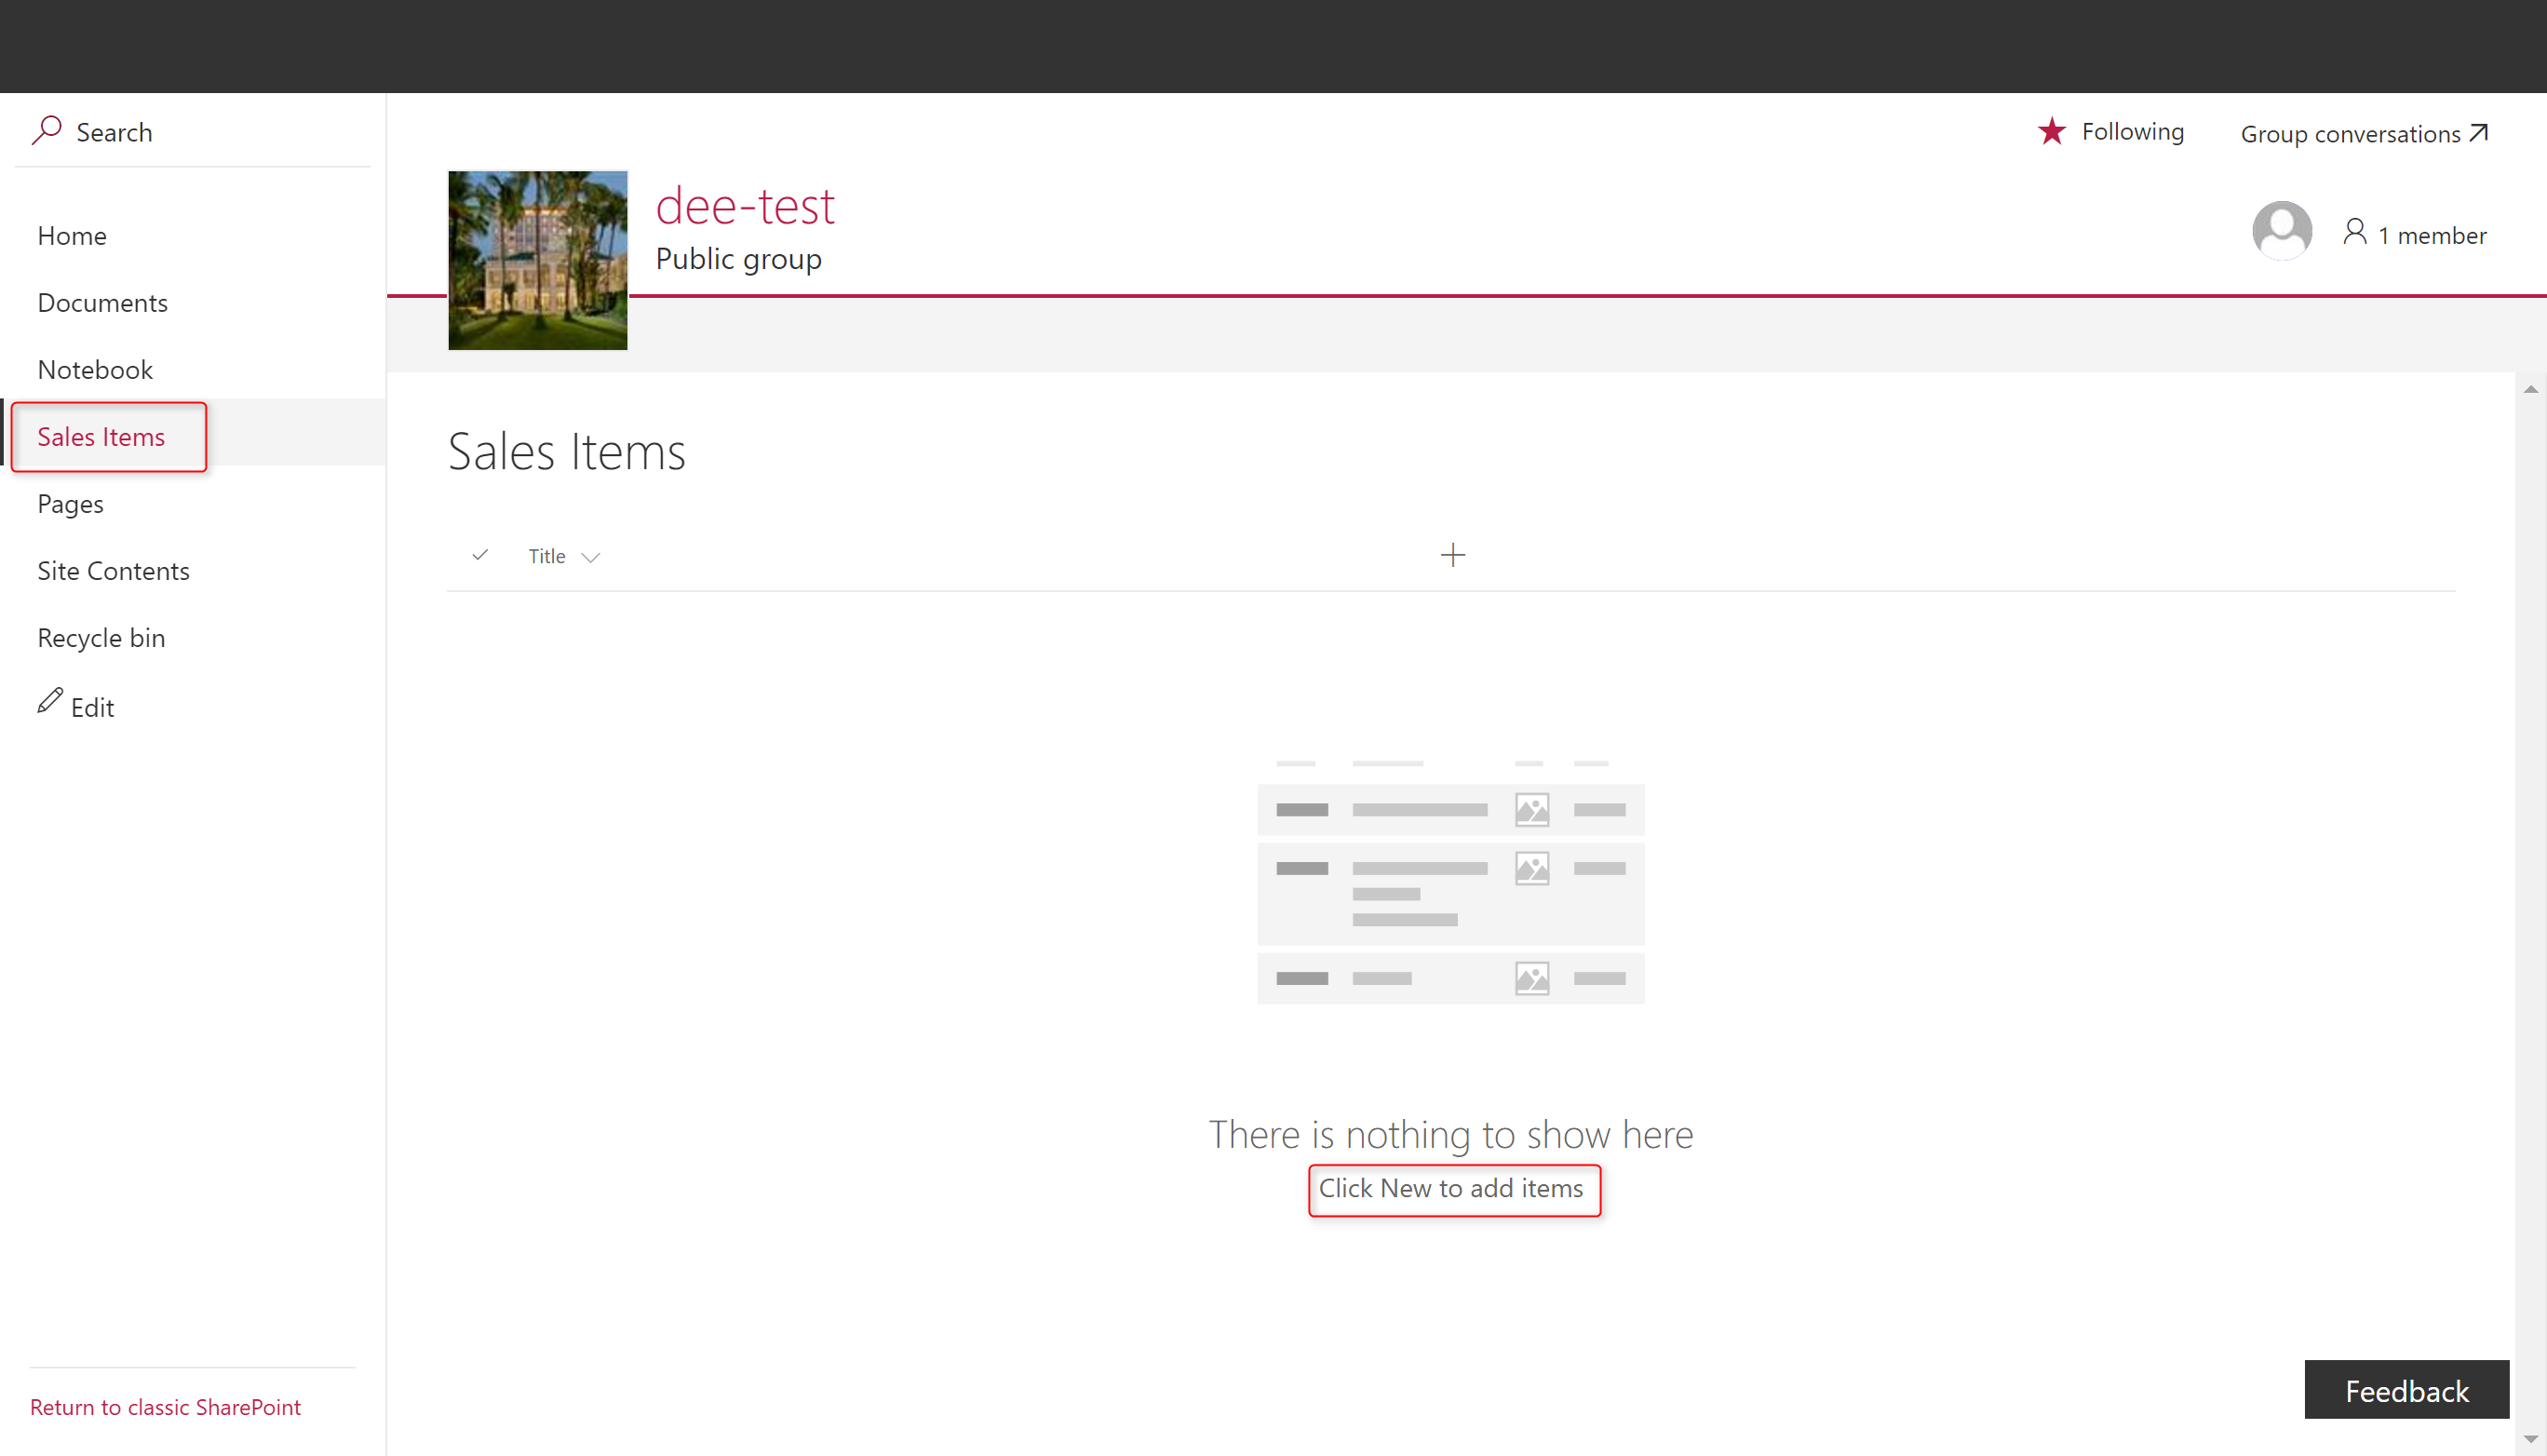
You will now see your list appear in the left navigation. There isn’t any content to start.
Add an Item to the list
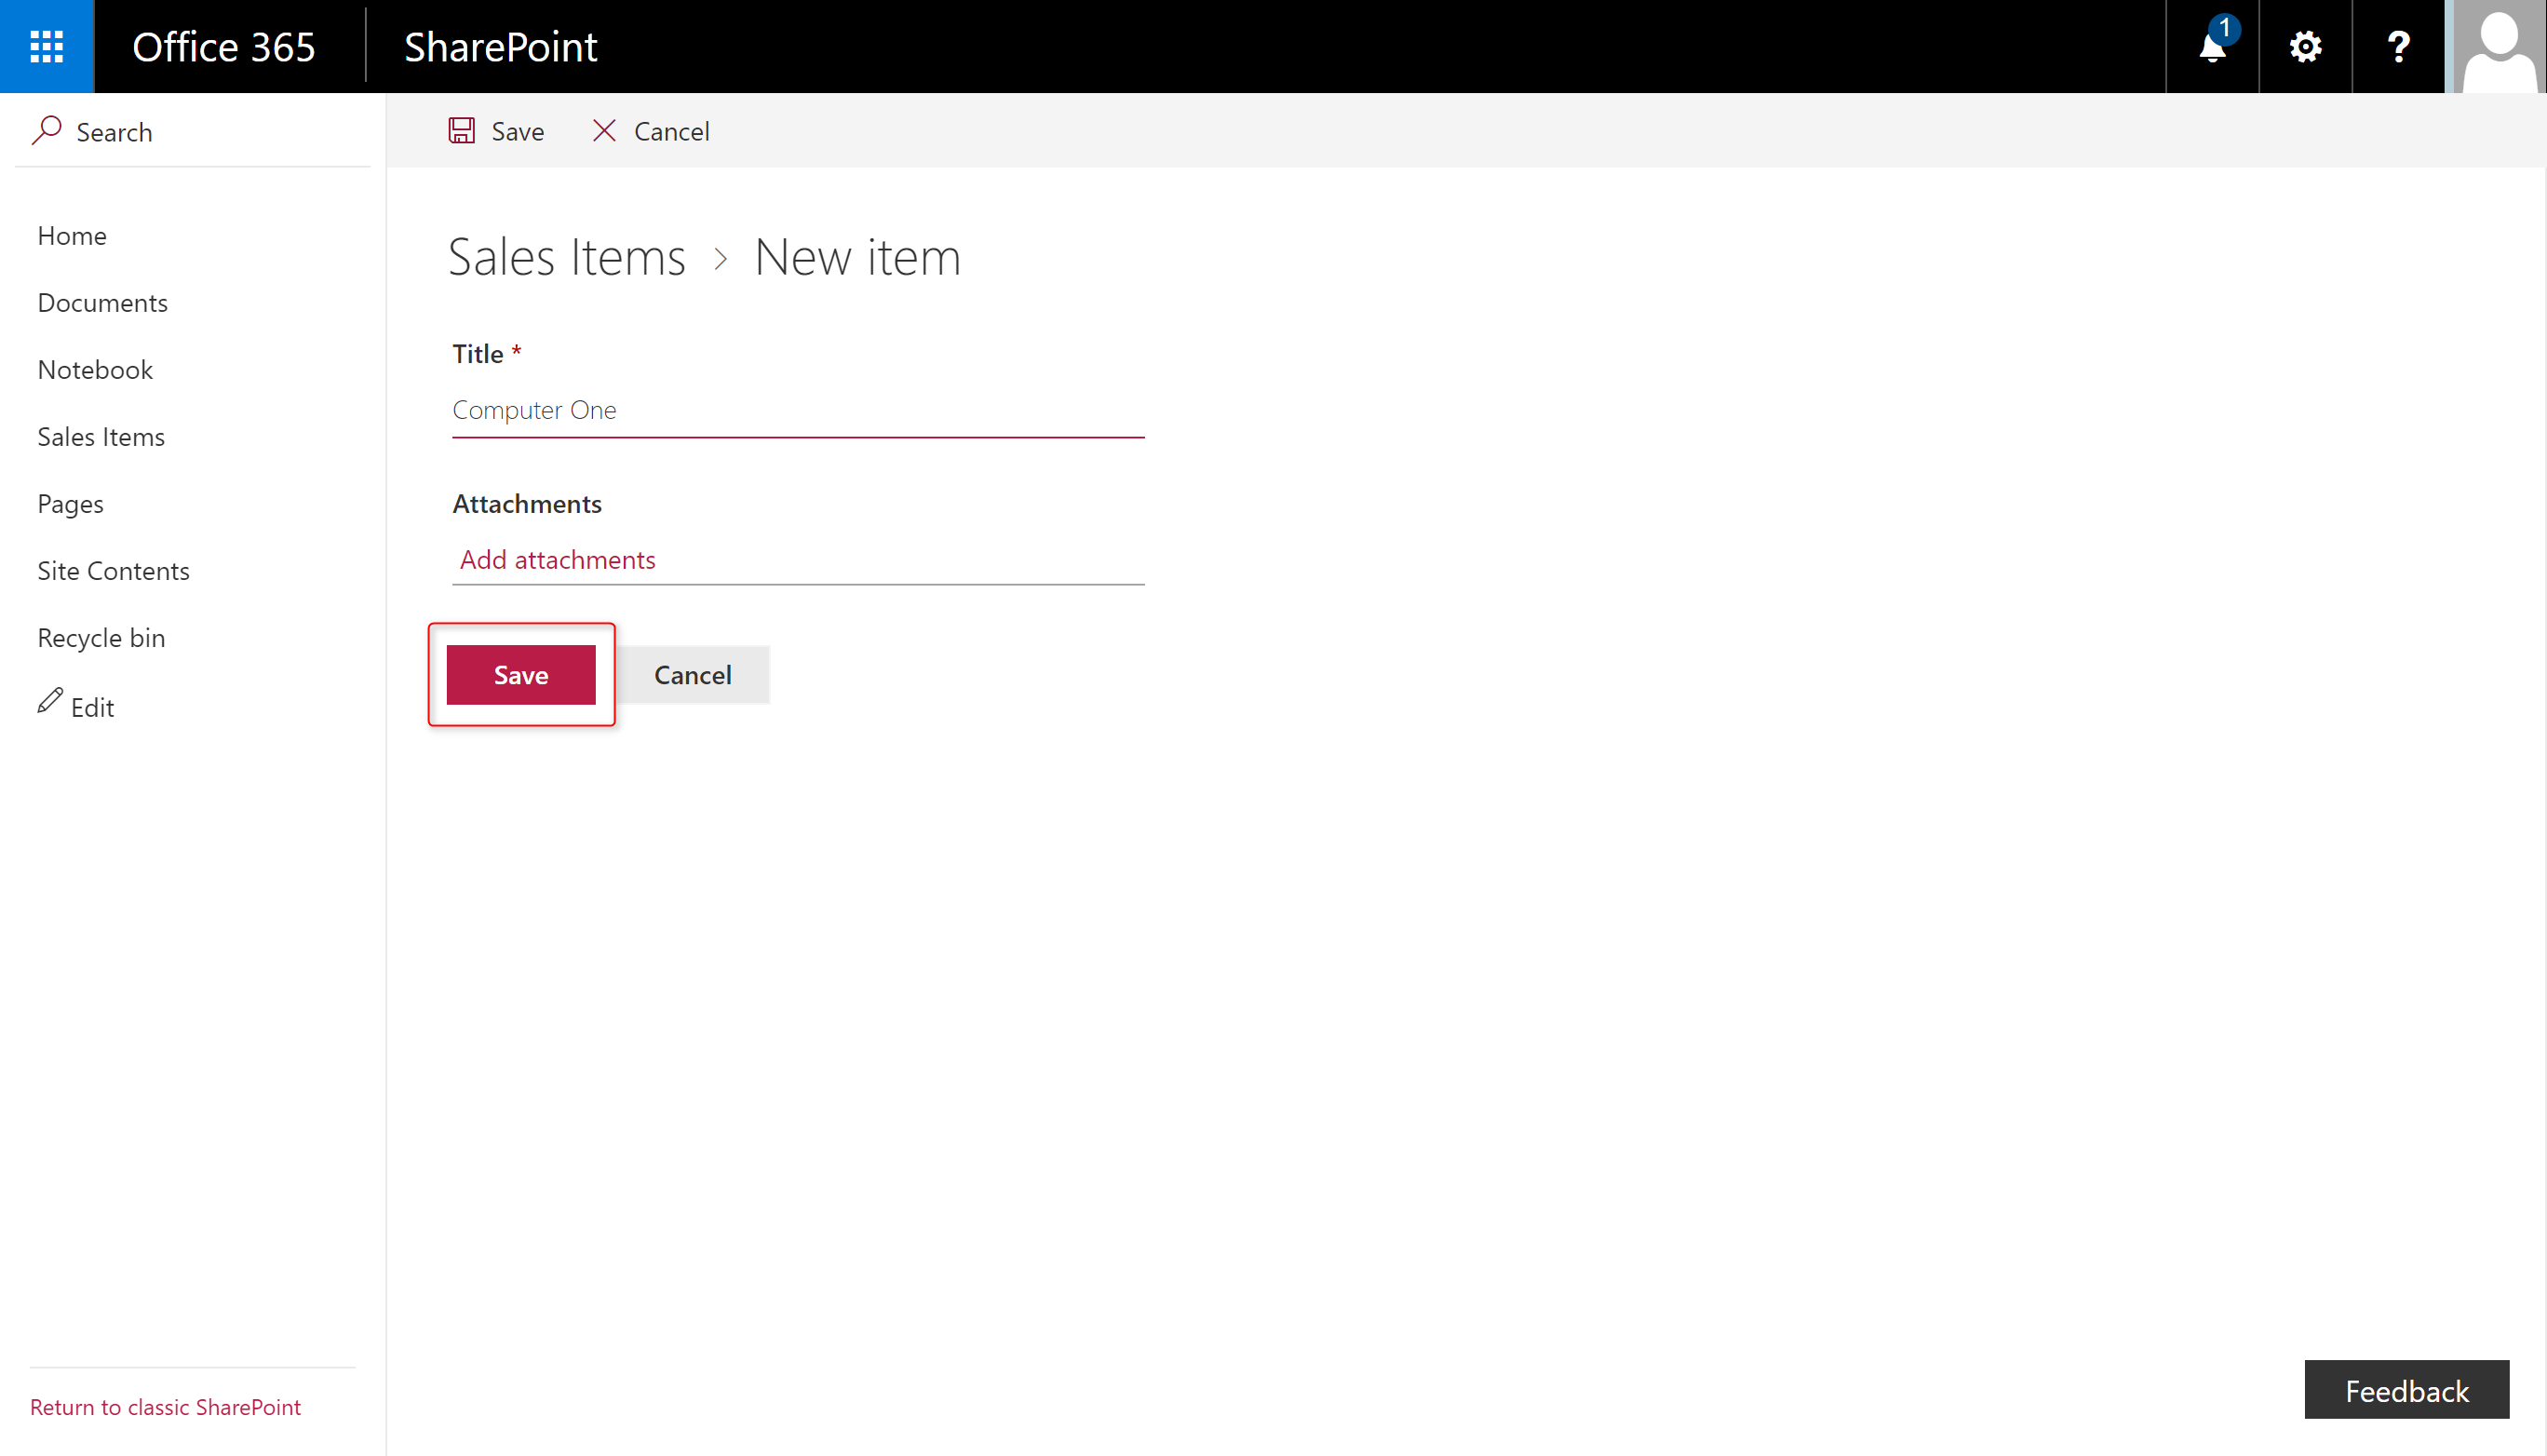
To add a list item, click on the “new” link in the navigation. The Title field is automatically added. You can choose to add an attachment to the list item. Once finished, press the “Save” button to save your list item.
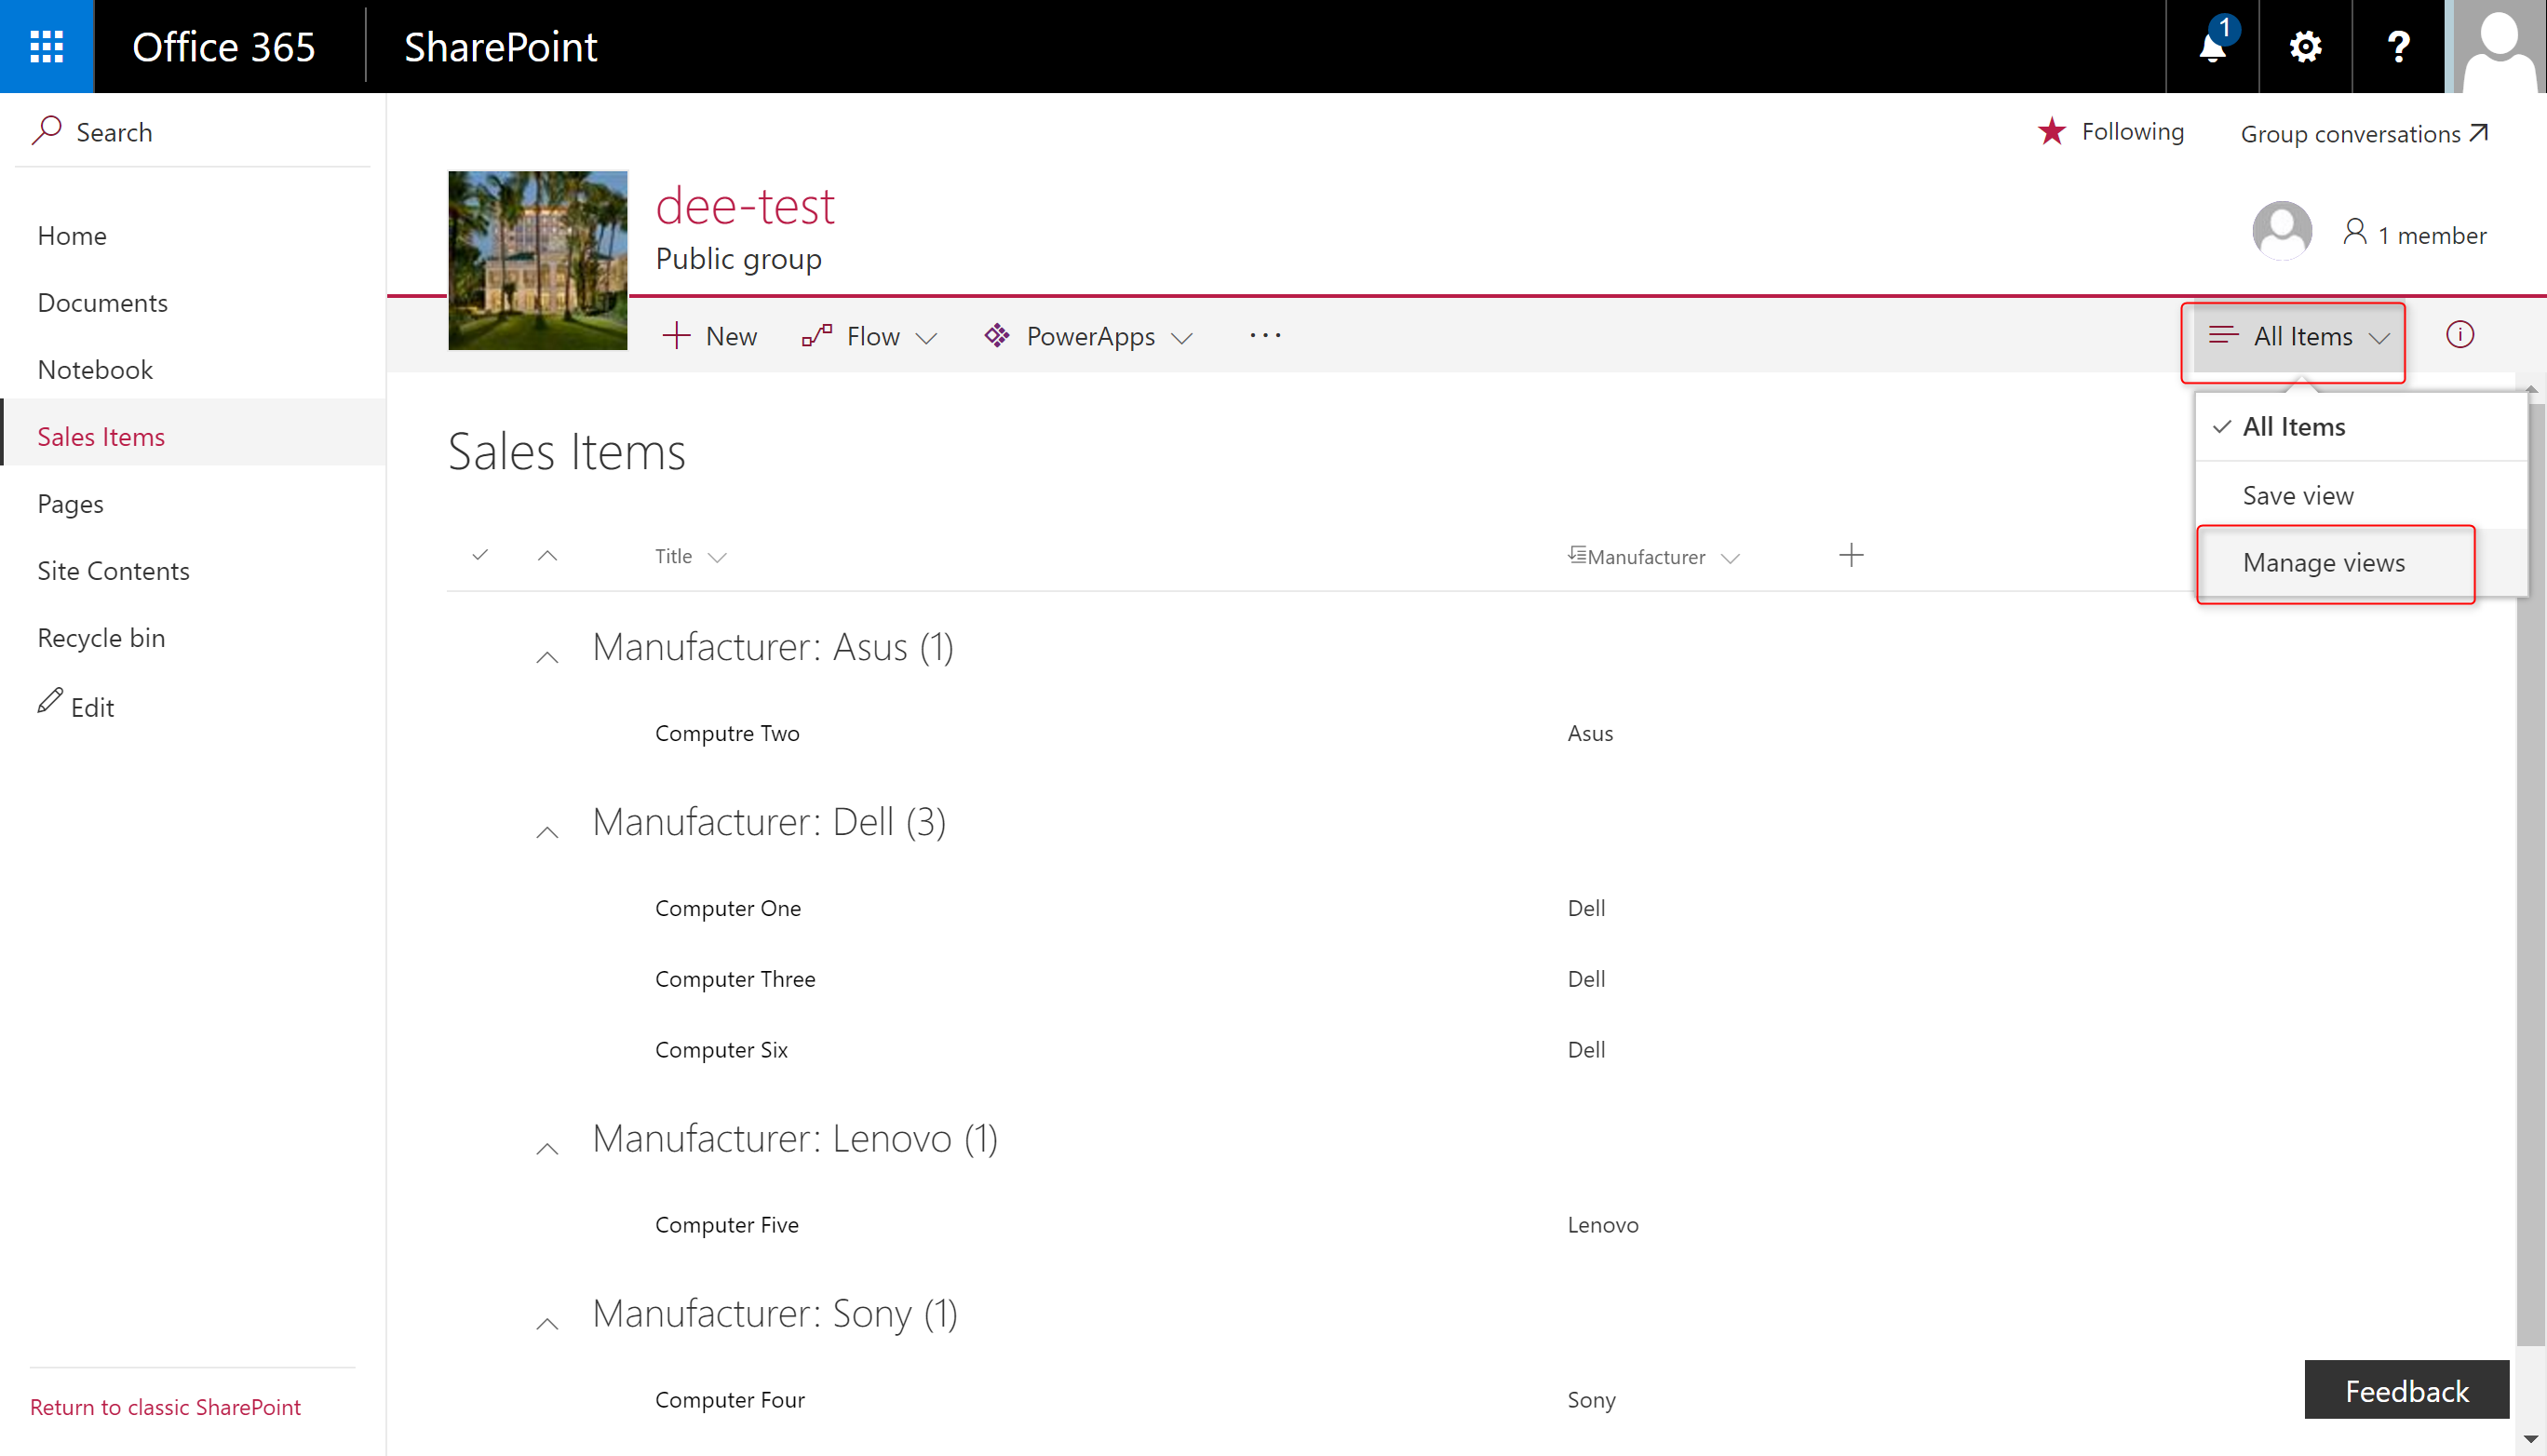
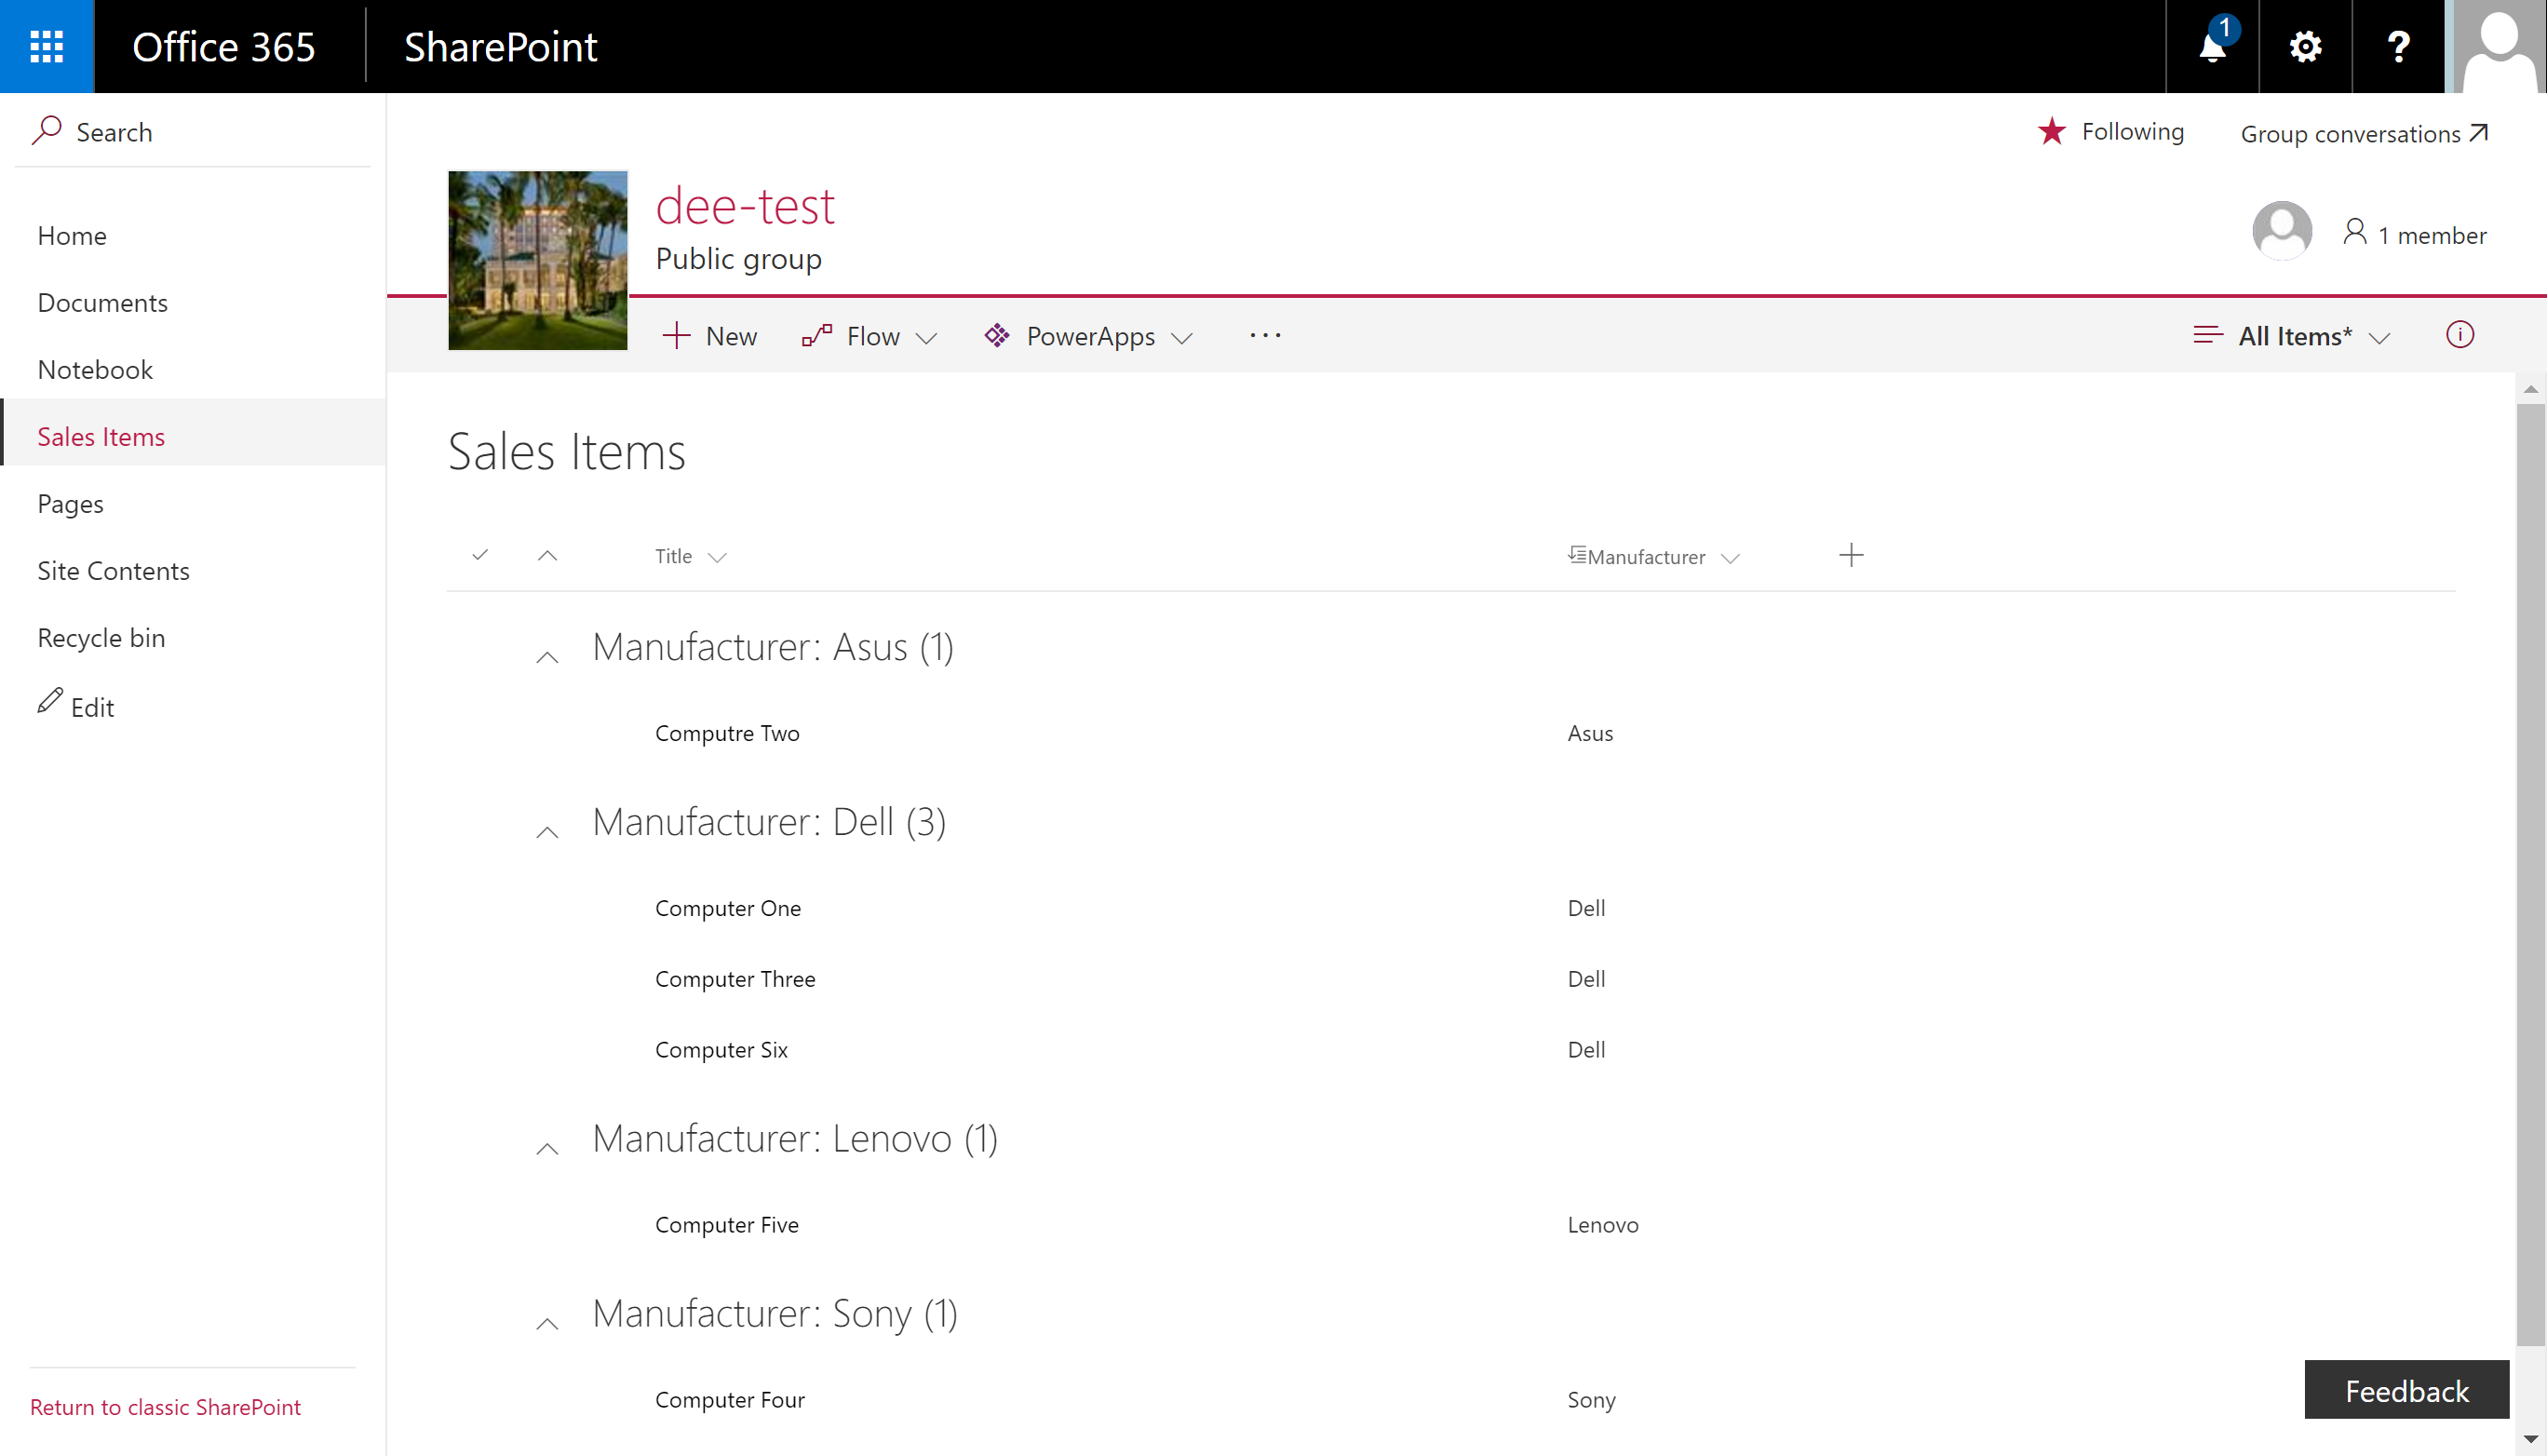
You can create additional columns and group items by the column by clicking on the column drop down menu and choosing the “grouped by column name”.

The items in the list have now been grouped together. You can expand or collapse the items and see the number of items that exist in each group.
View List Item Properties Pane
You can now view the properties for each list item by selecting the item and then click on the “i” information icon on the right side of the menu. The Properties Pane for the item will appear on the right side of the screen. You can edit the properties for that item from the page and view all meta data attached to the item.

To create a new view for the list, click on the “All items” drop down in the navigation and click on “Manage Views”. This is also the best way to reach the list settings as well.