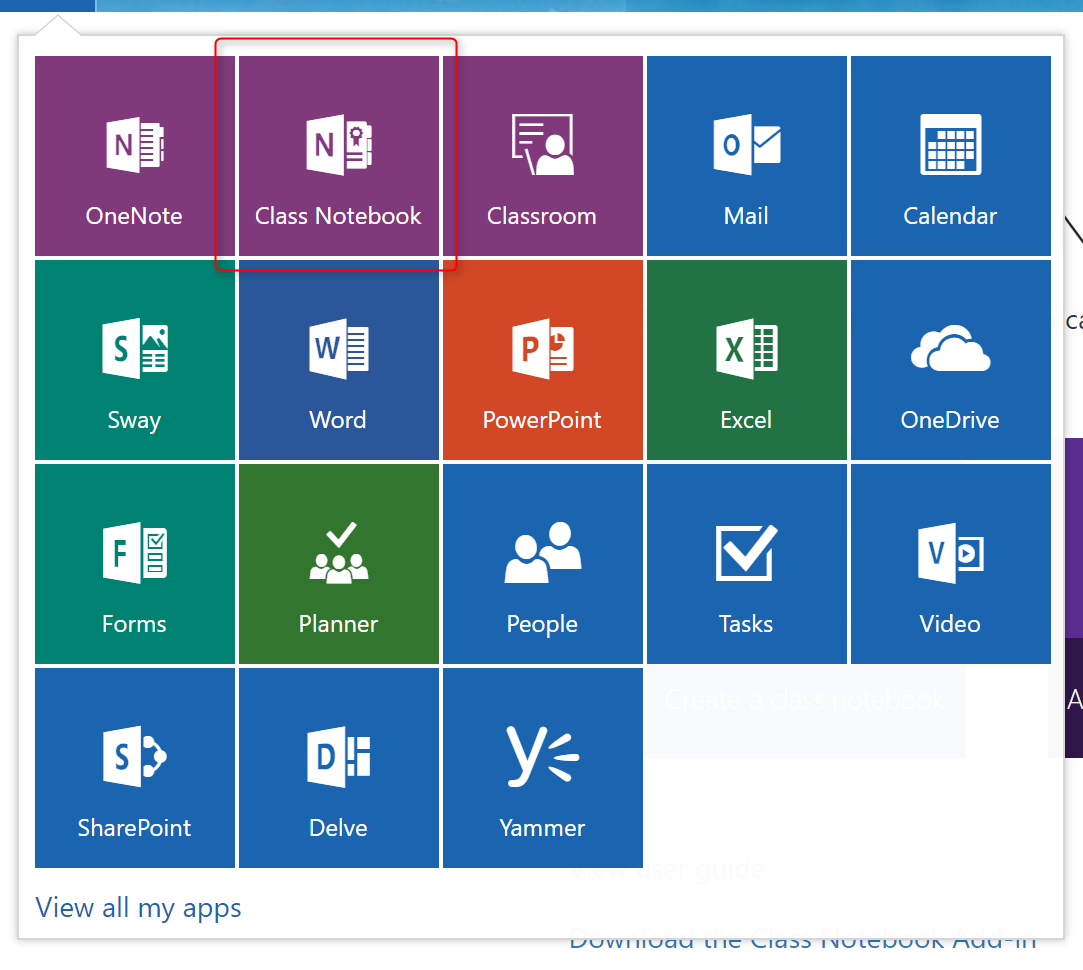
To create a new notebook for your class, click on the App Launcher and choose ” Class Notebook”.
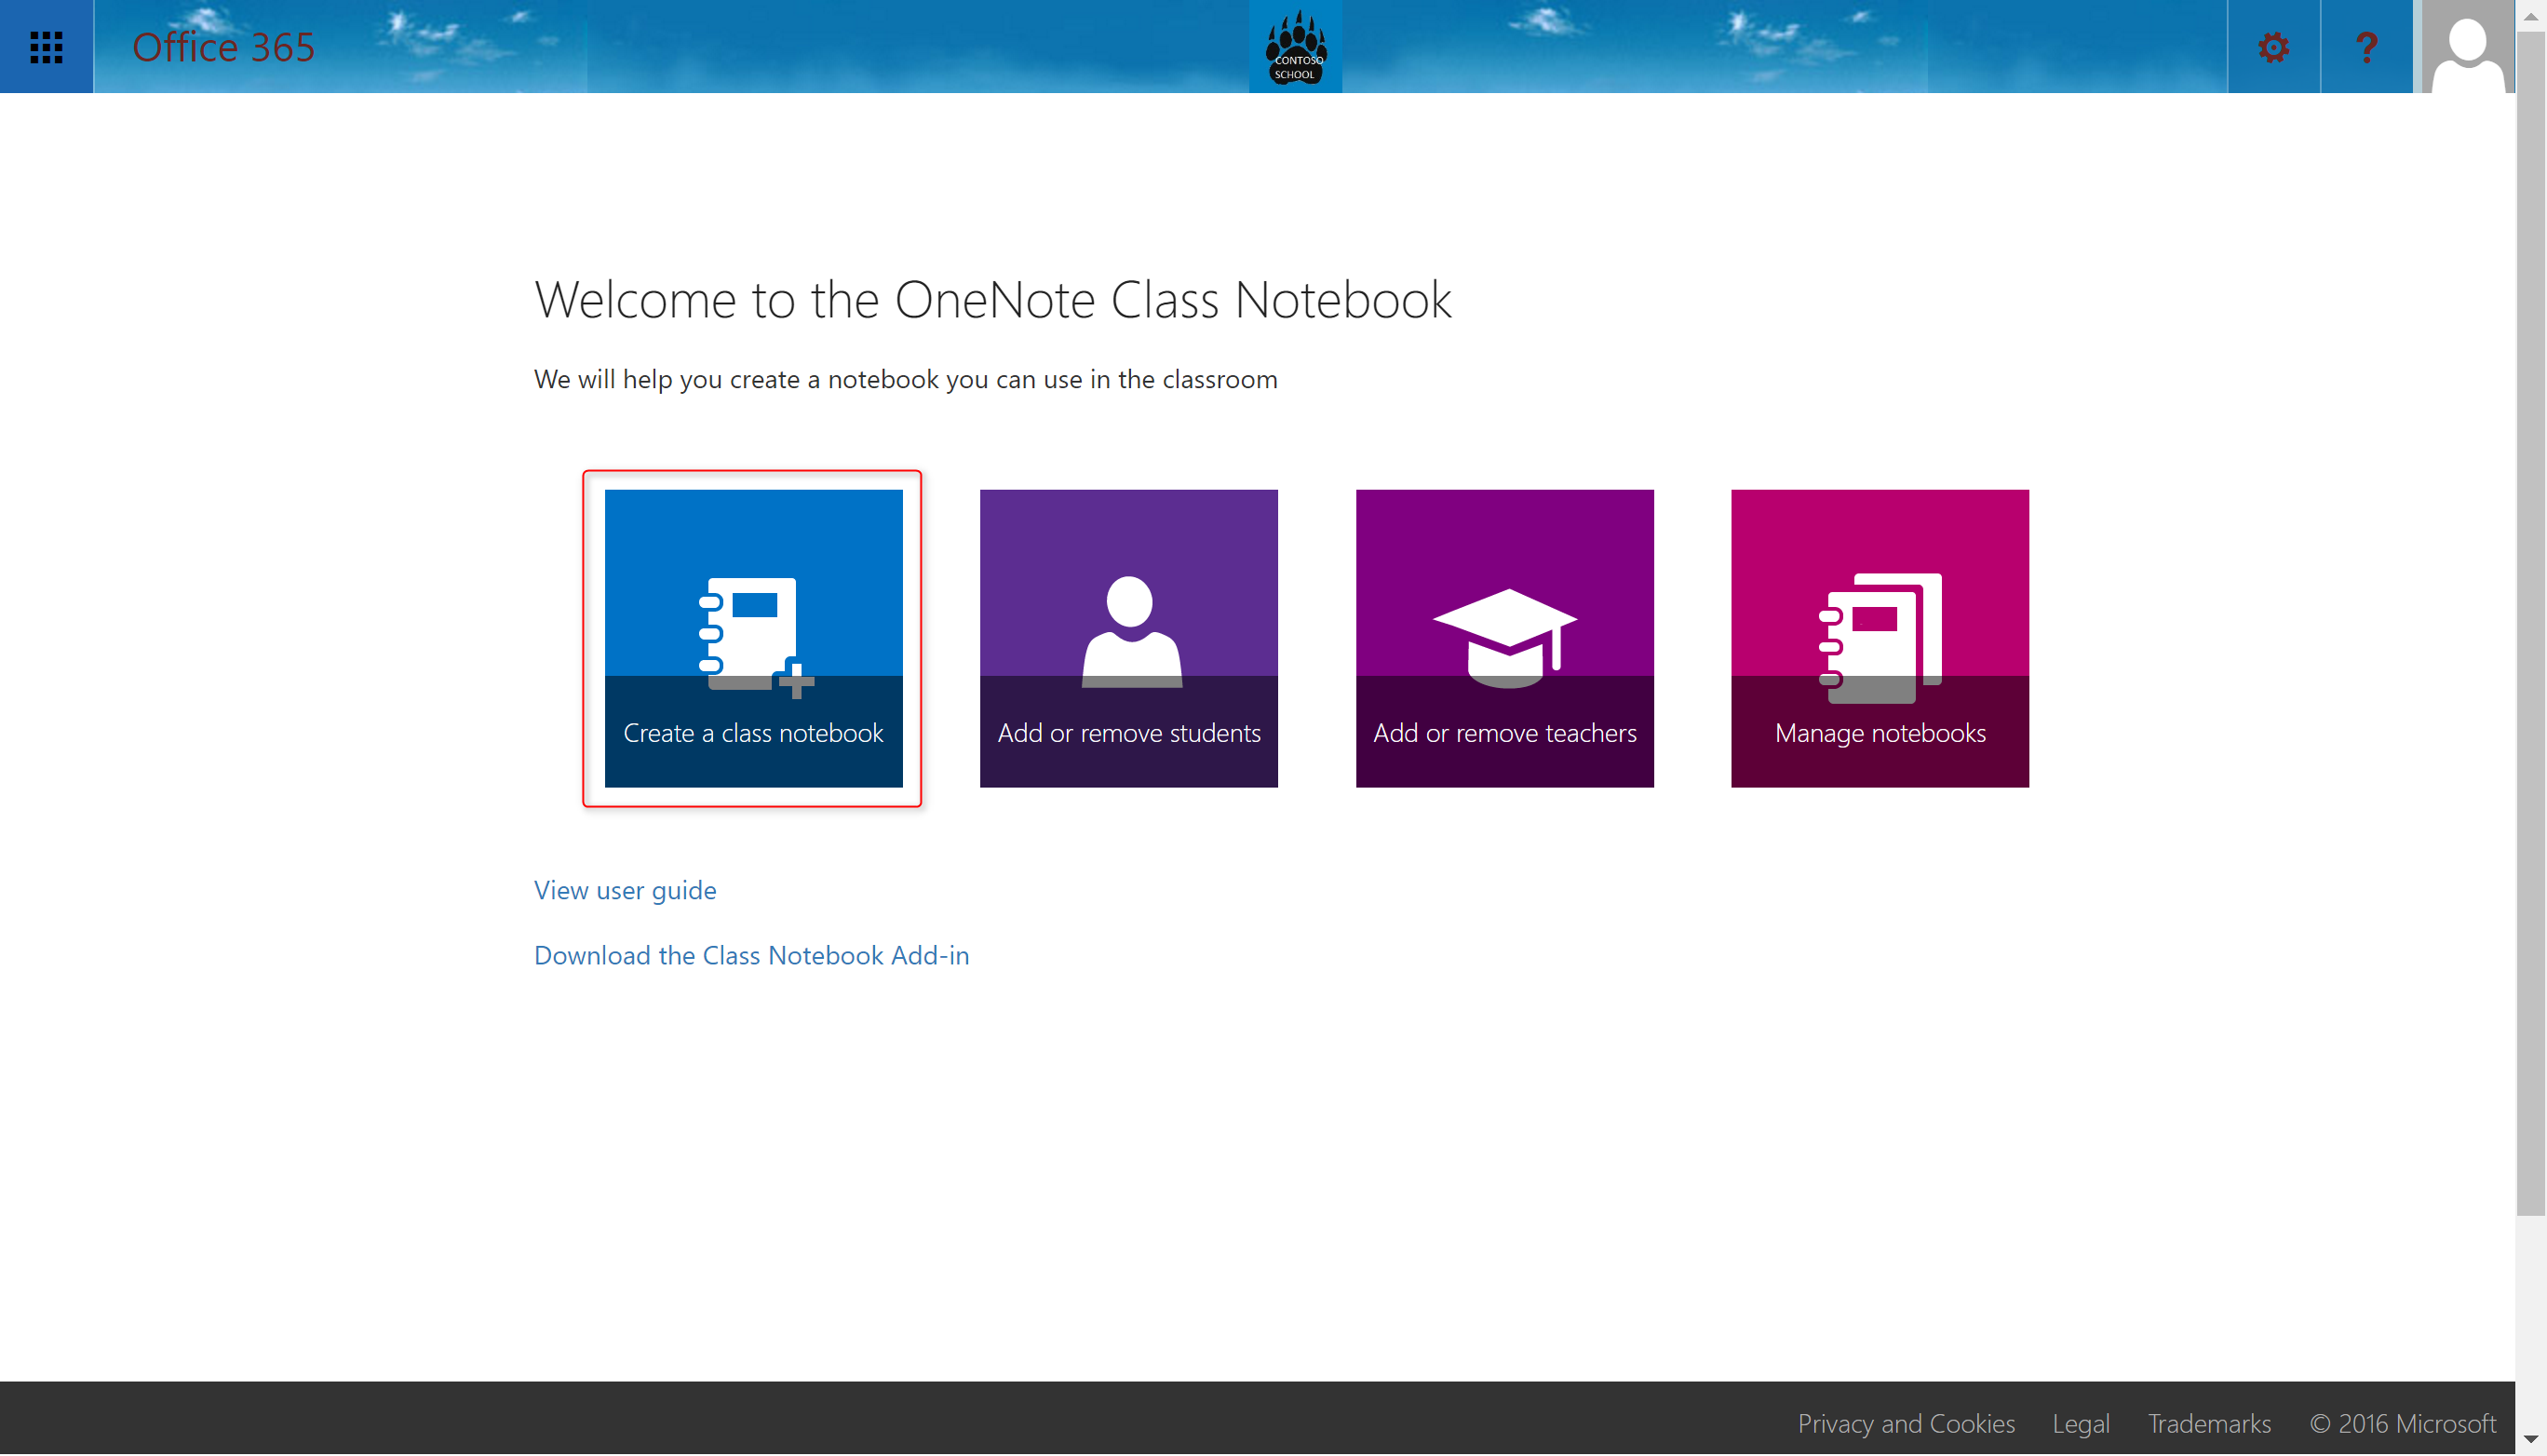
You have the options to:
- Create a class notebook
- Add or remove students
- Add or remove teachers
- Manage Notebooks
Choose “Create a class notebook”.
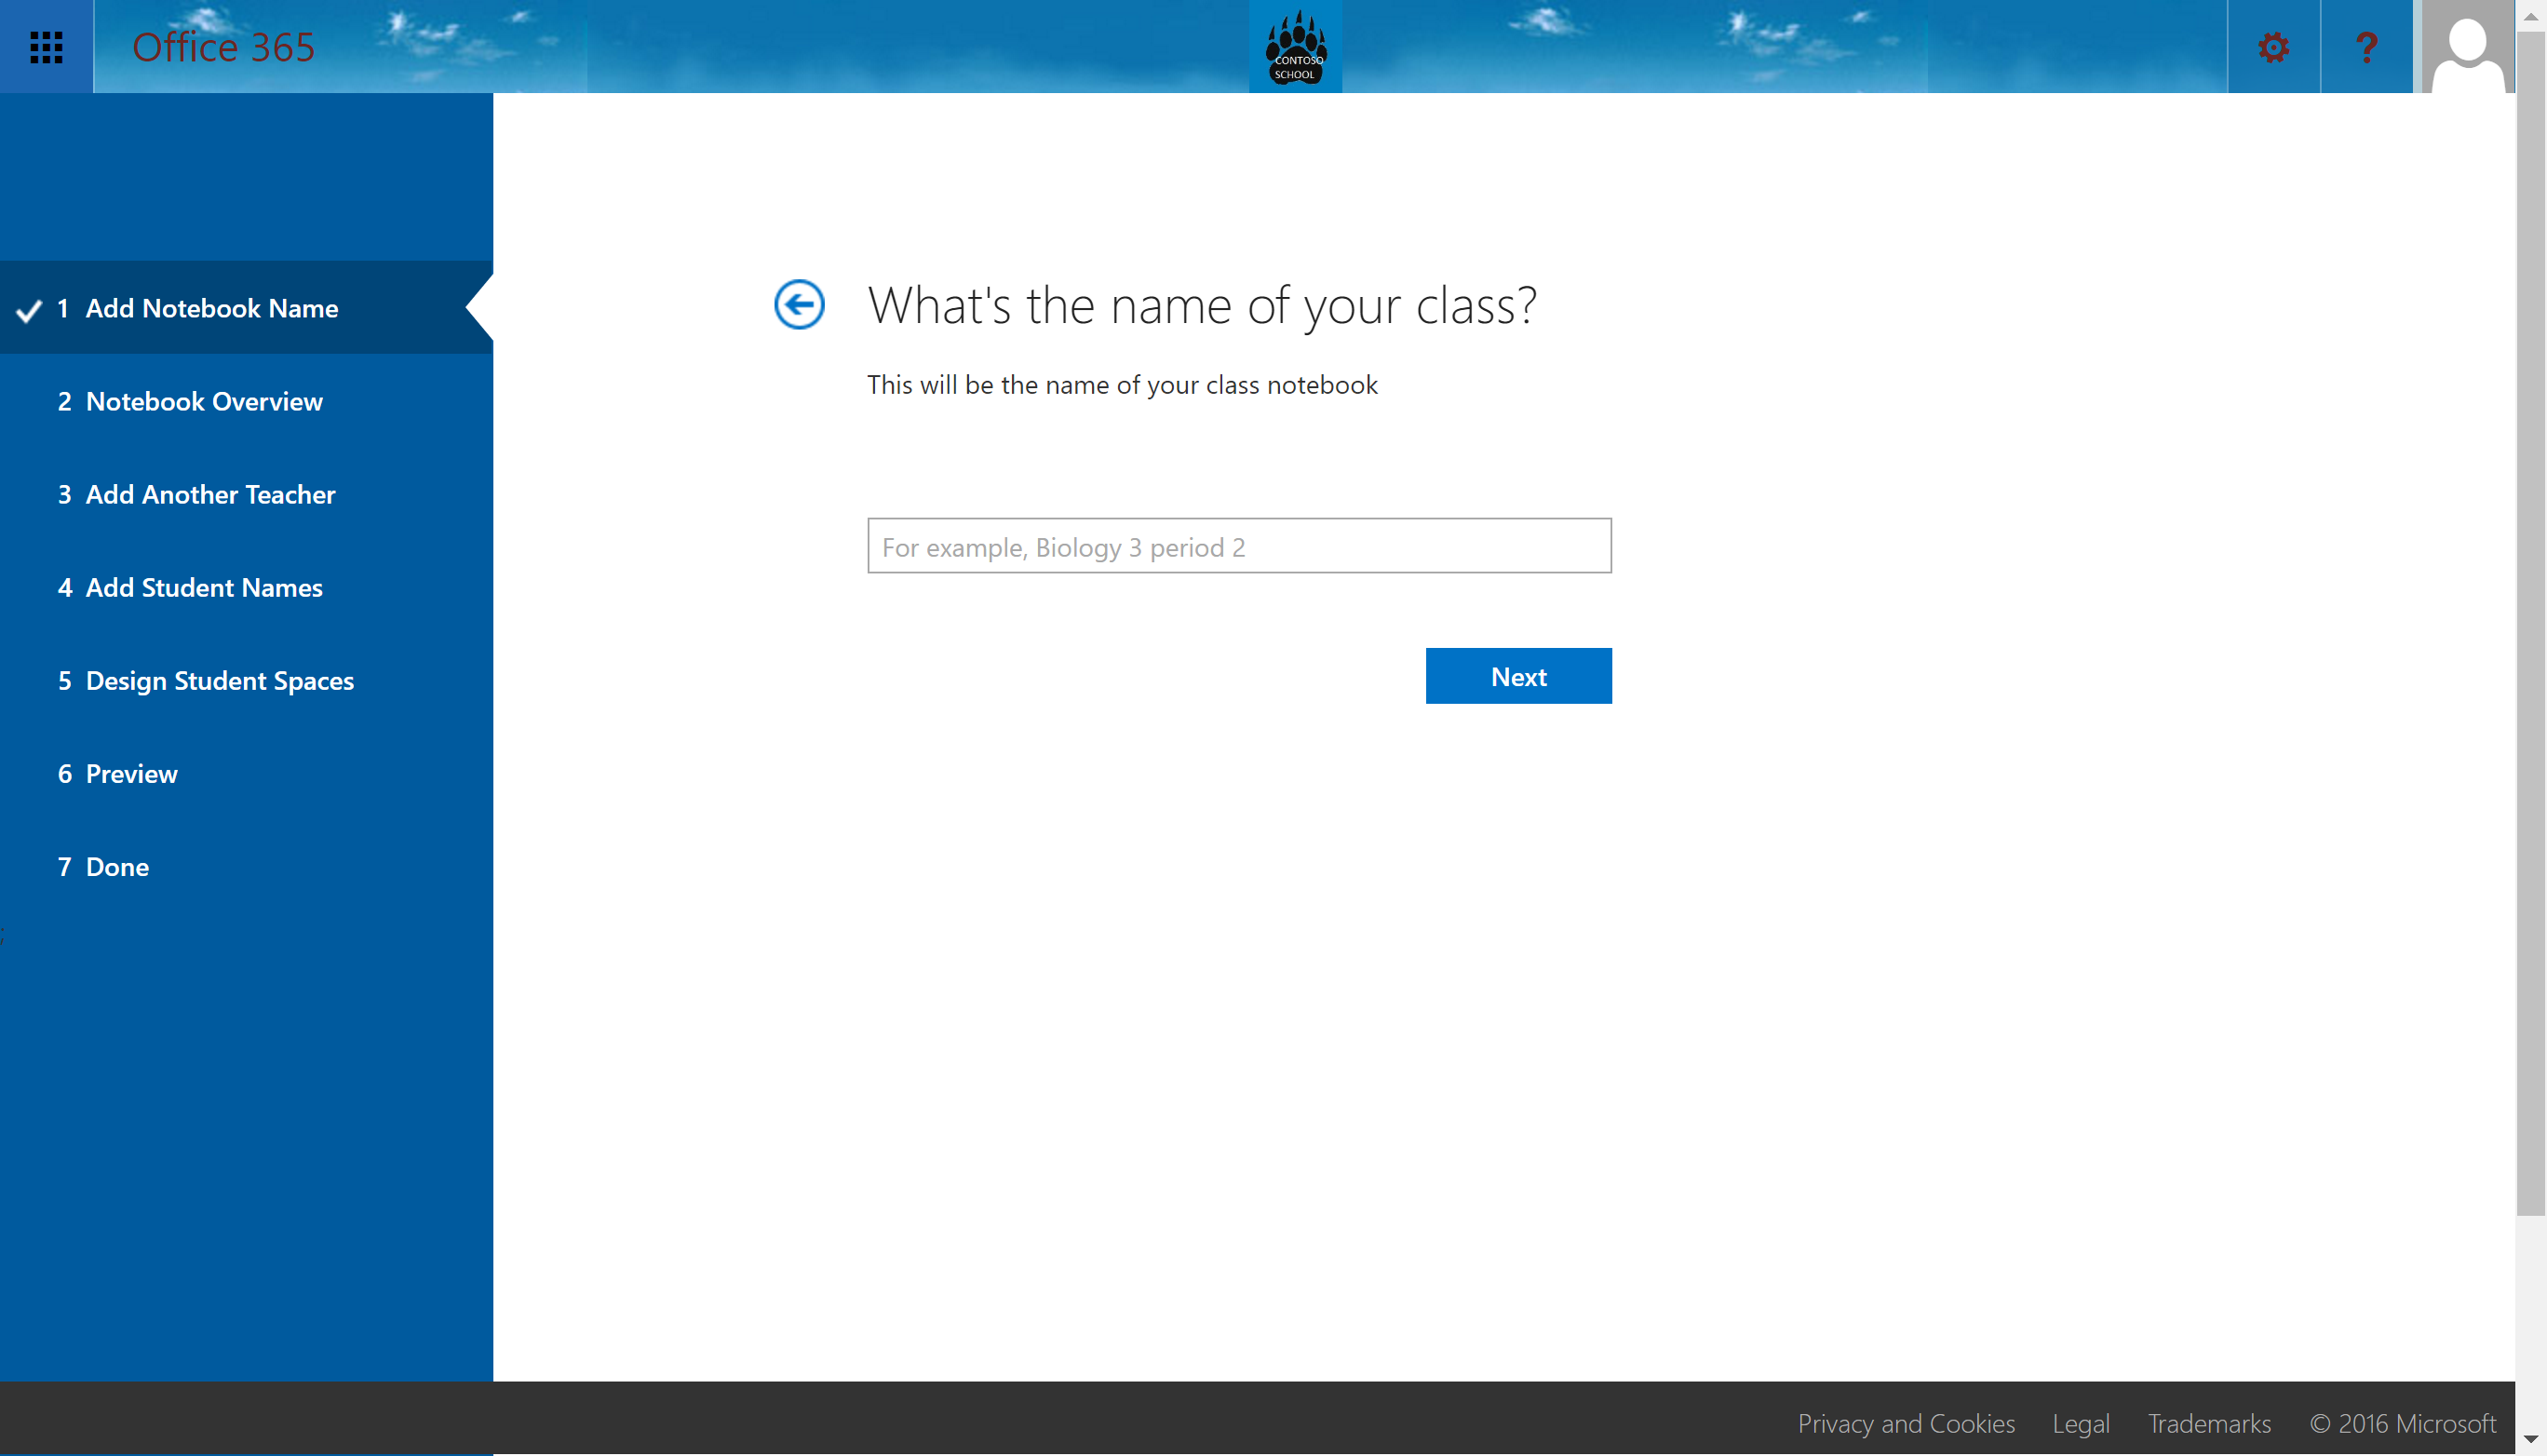
Choose a name of your class and then press the “Next” button.
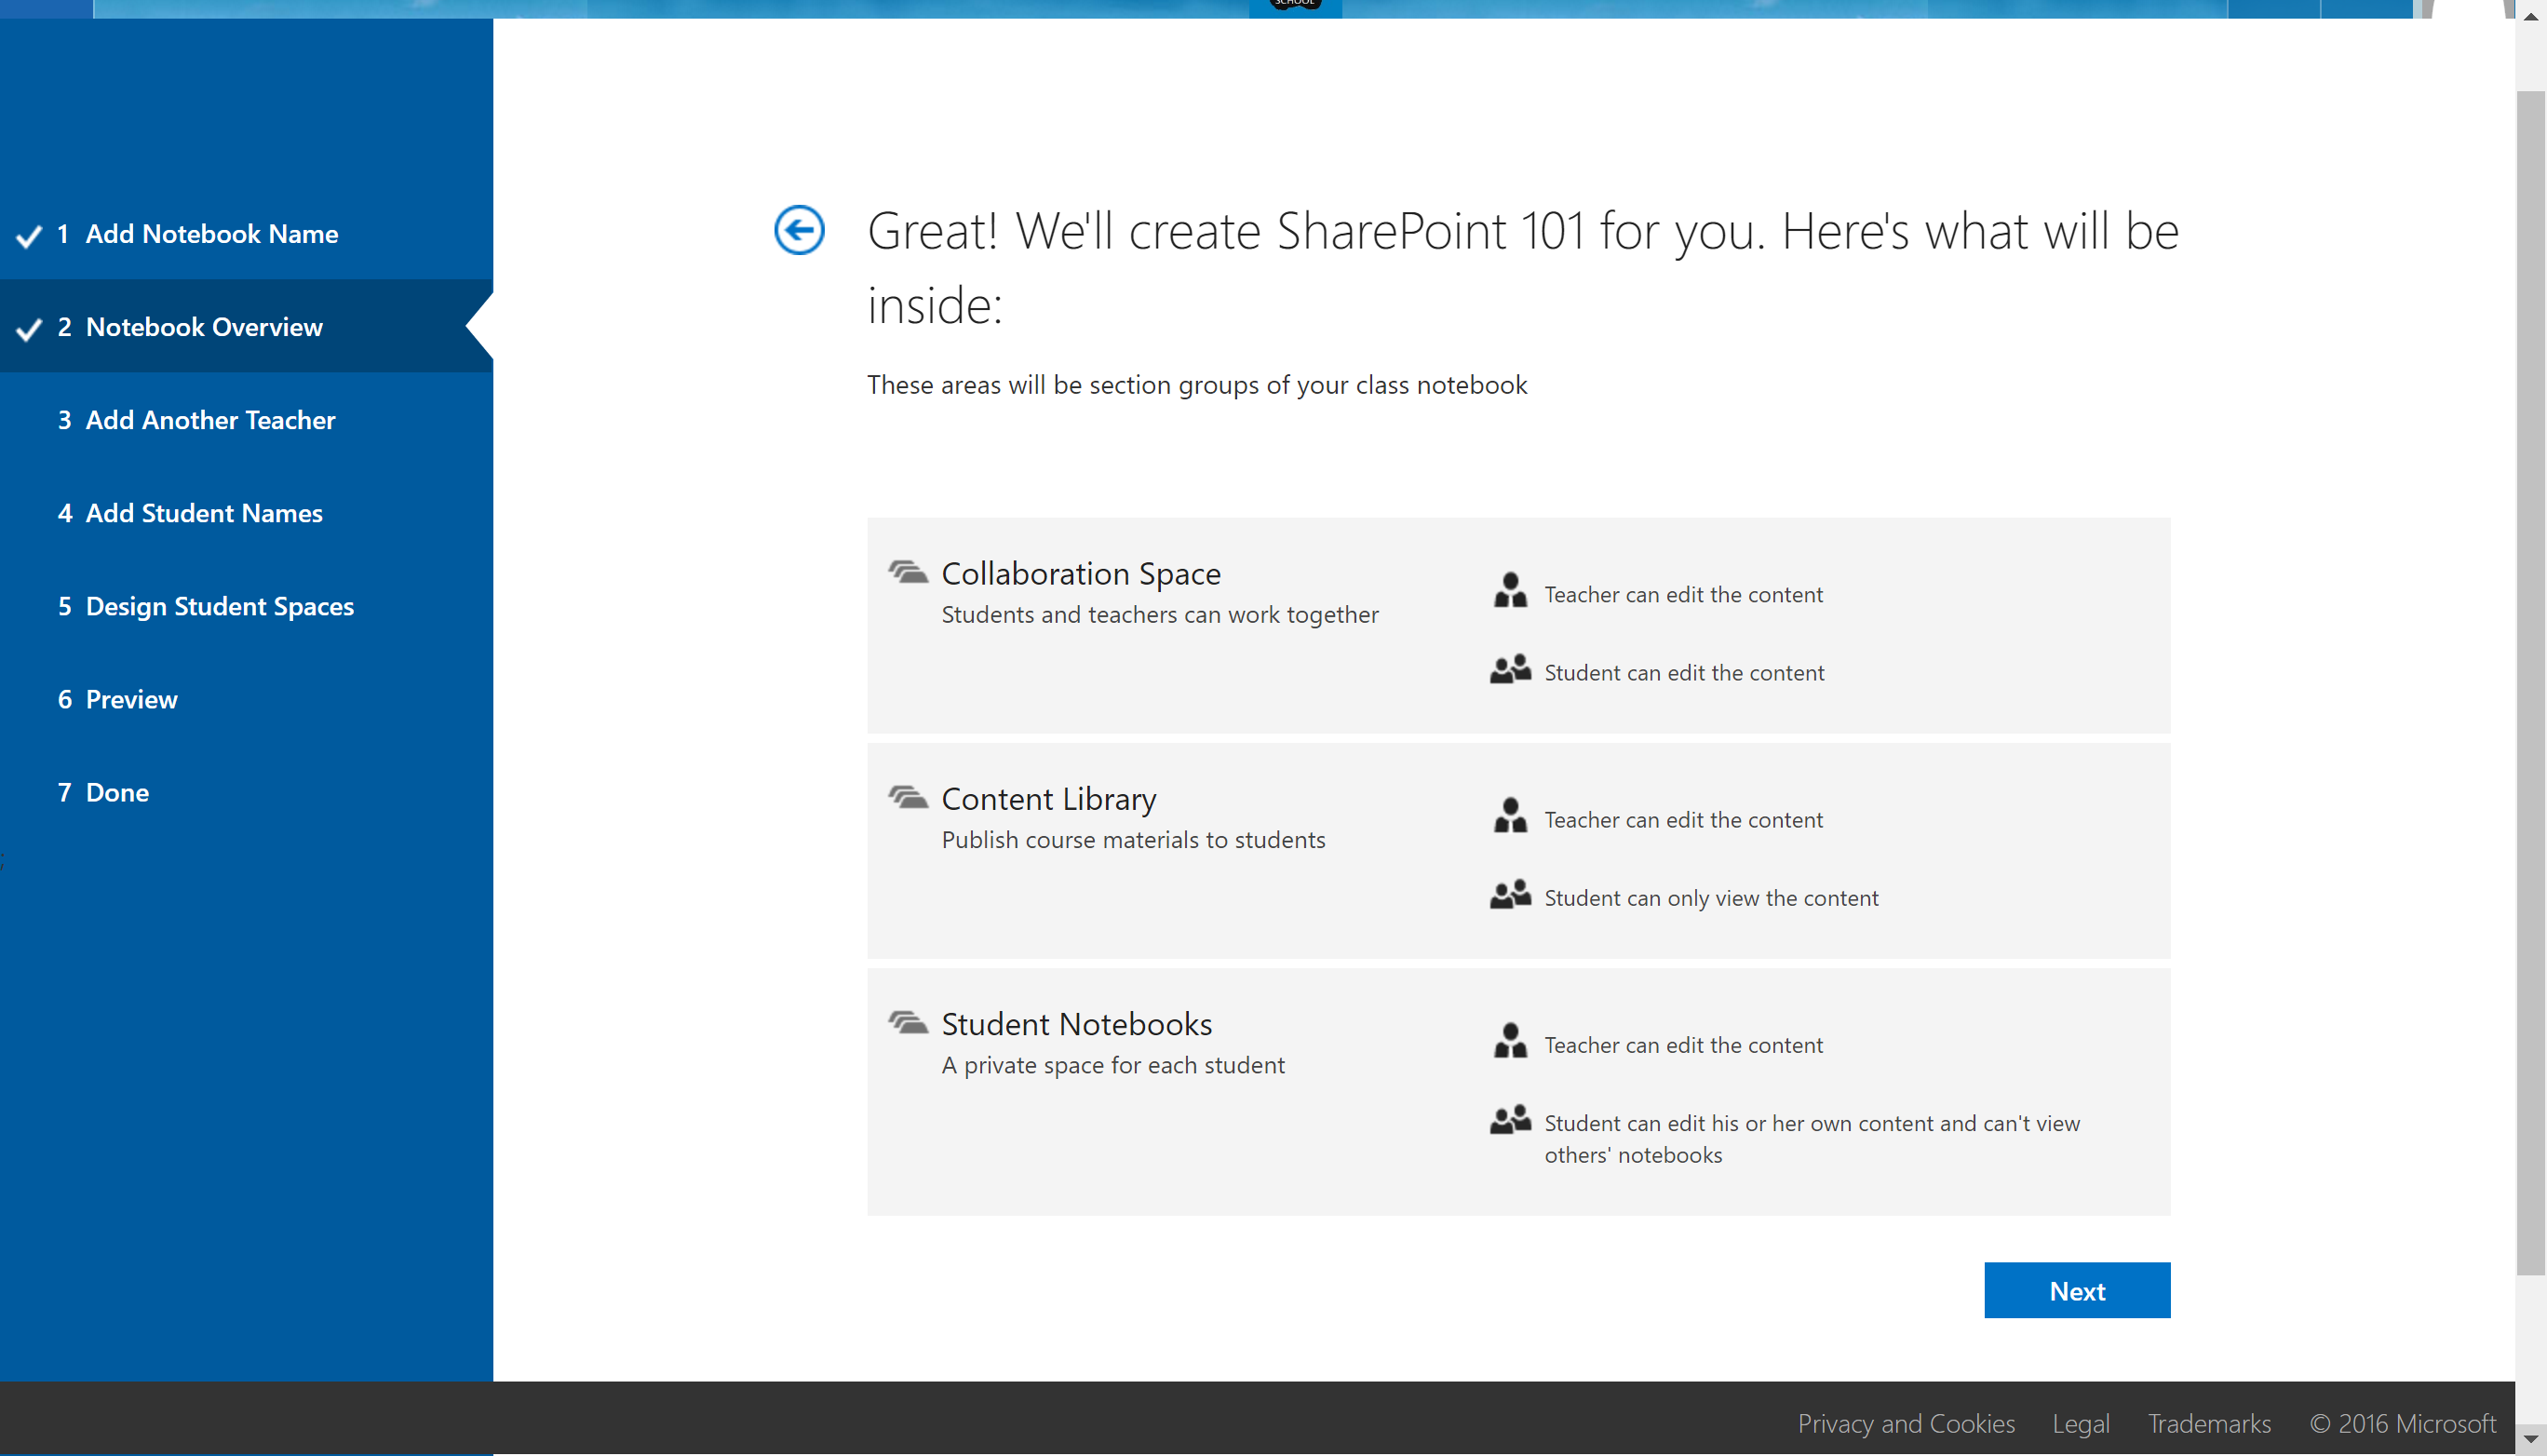
Microsoft will prompt you to what features you will receive while preparing the notebook. Press the “Next” button.
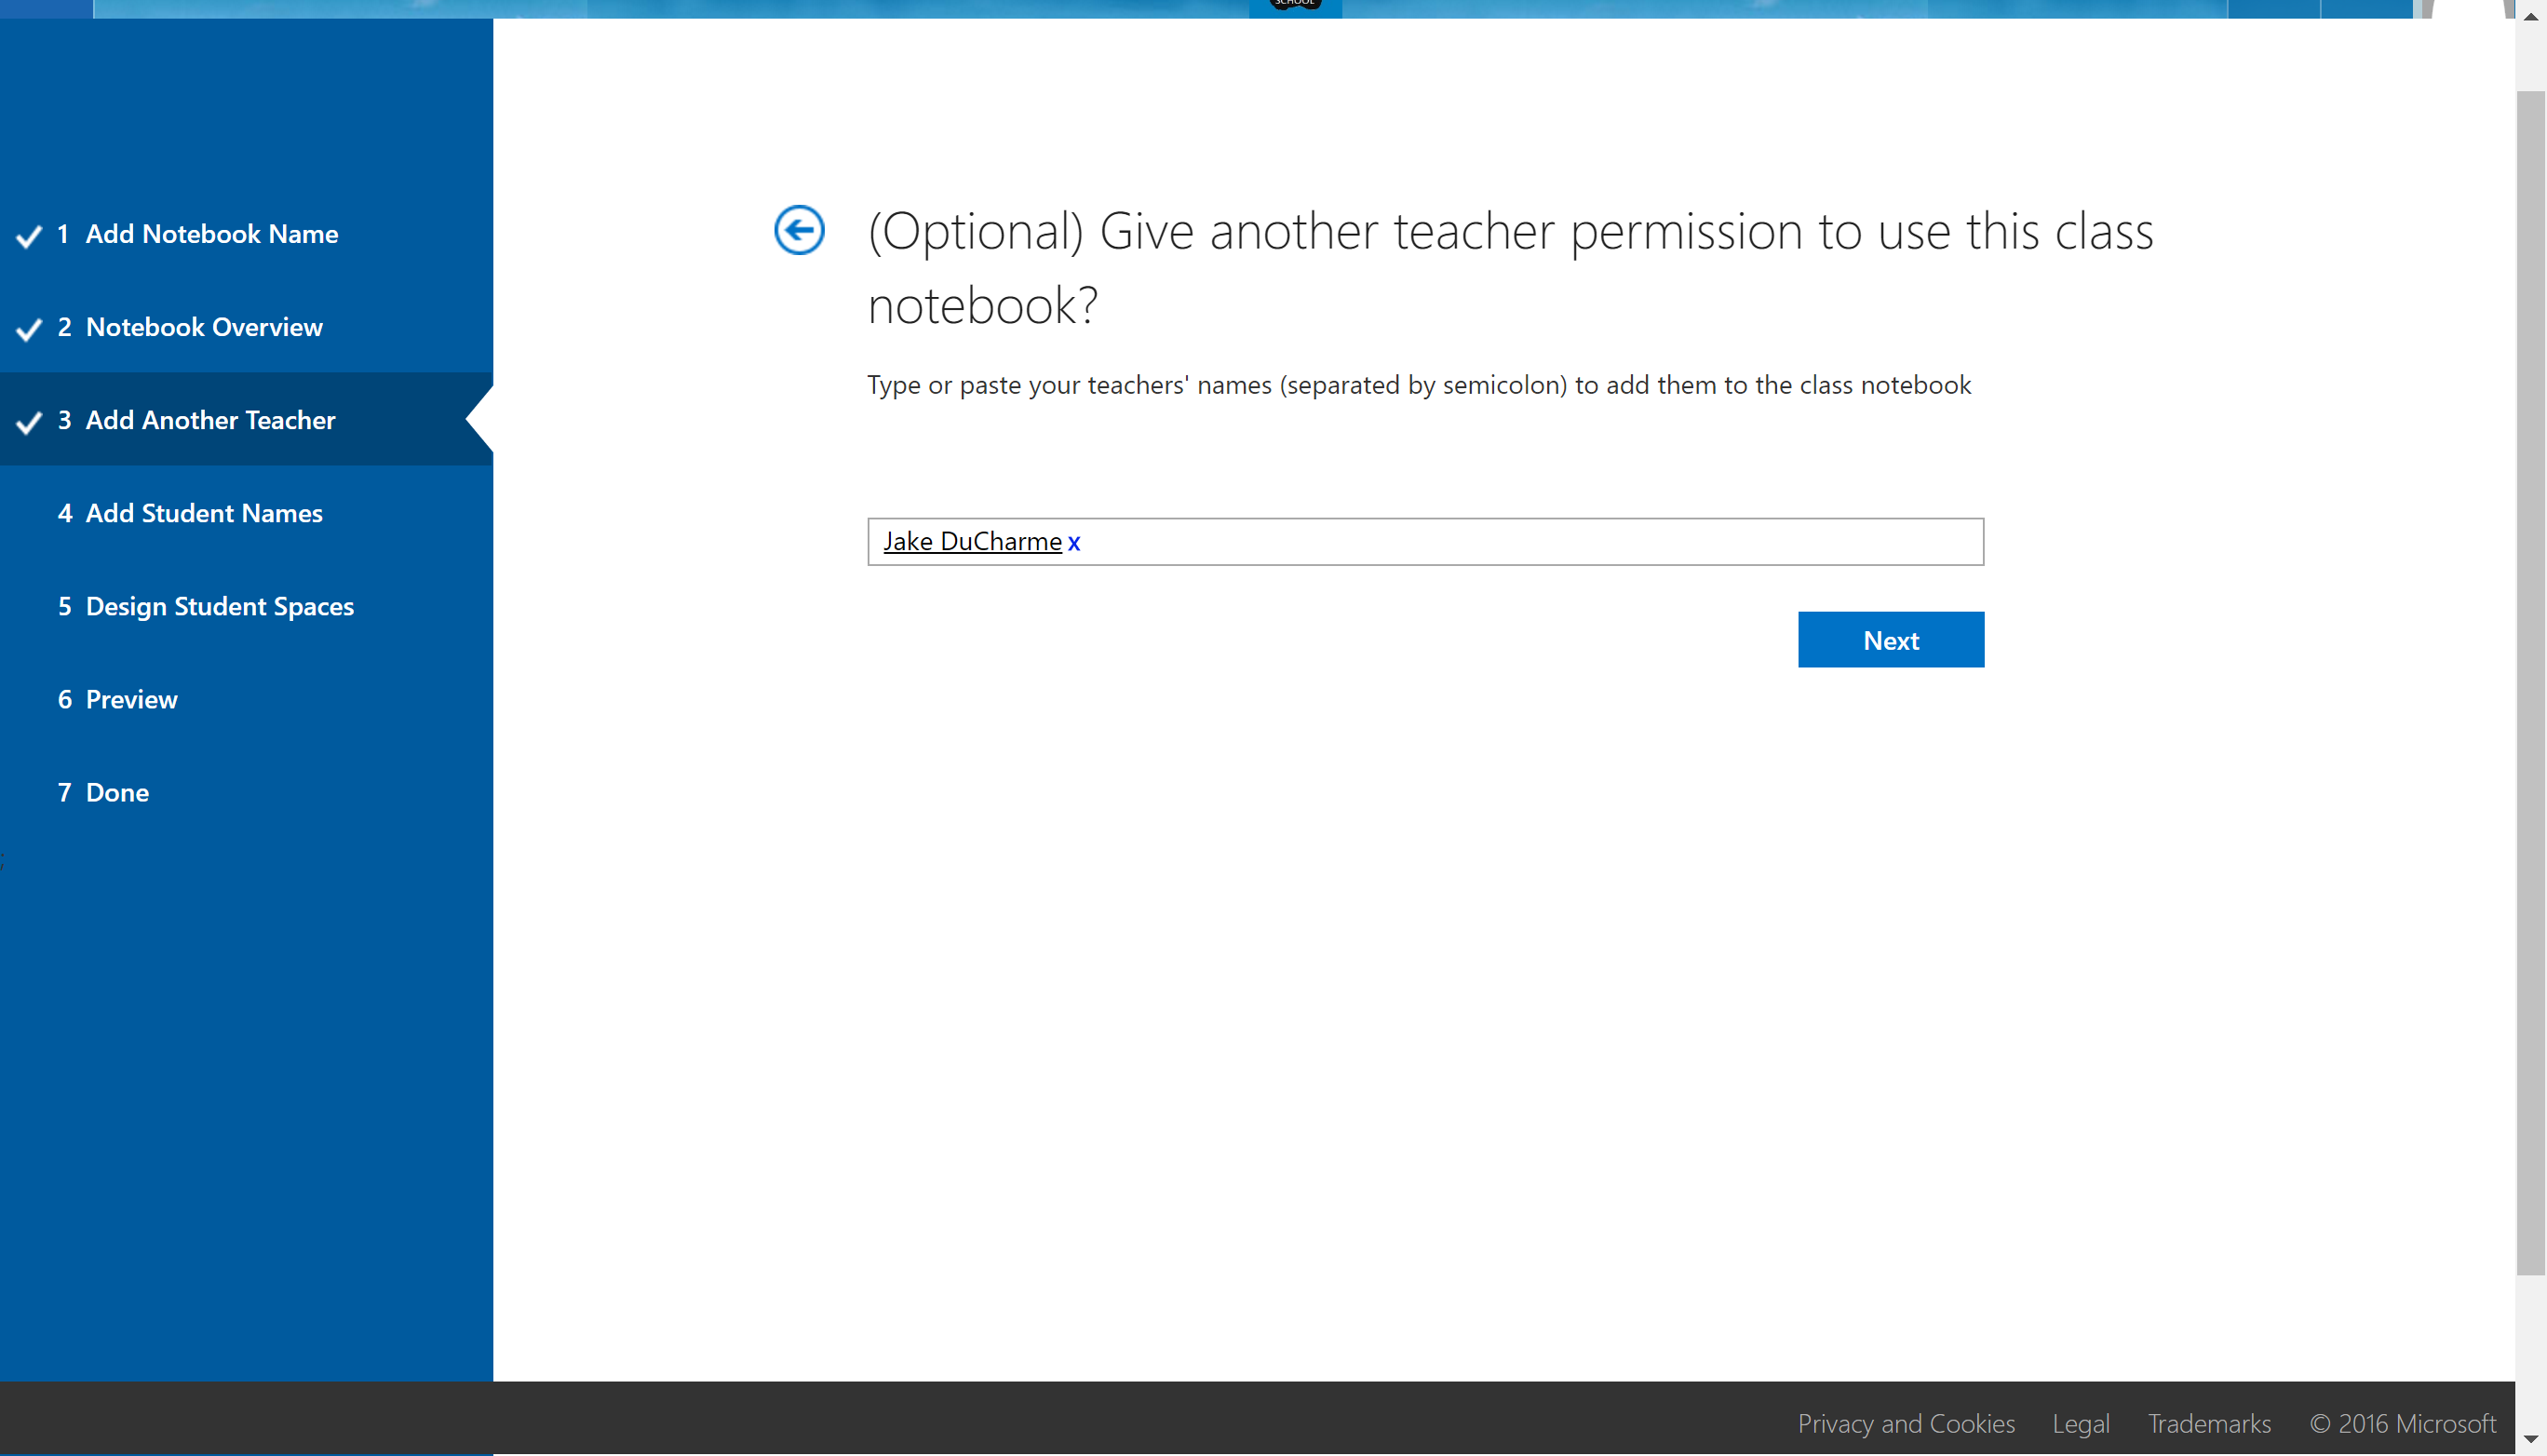
Choose if you want to add additional teachers to have access to your Class Notebook. Press “Next”.
Next, Choose students as individuals or you can choose a group of students. Press “Next”.

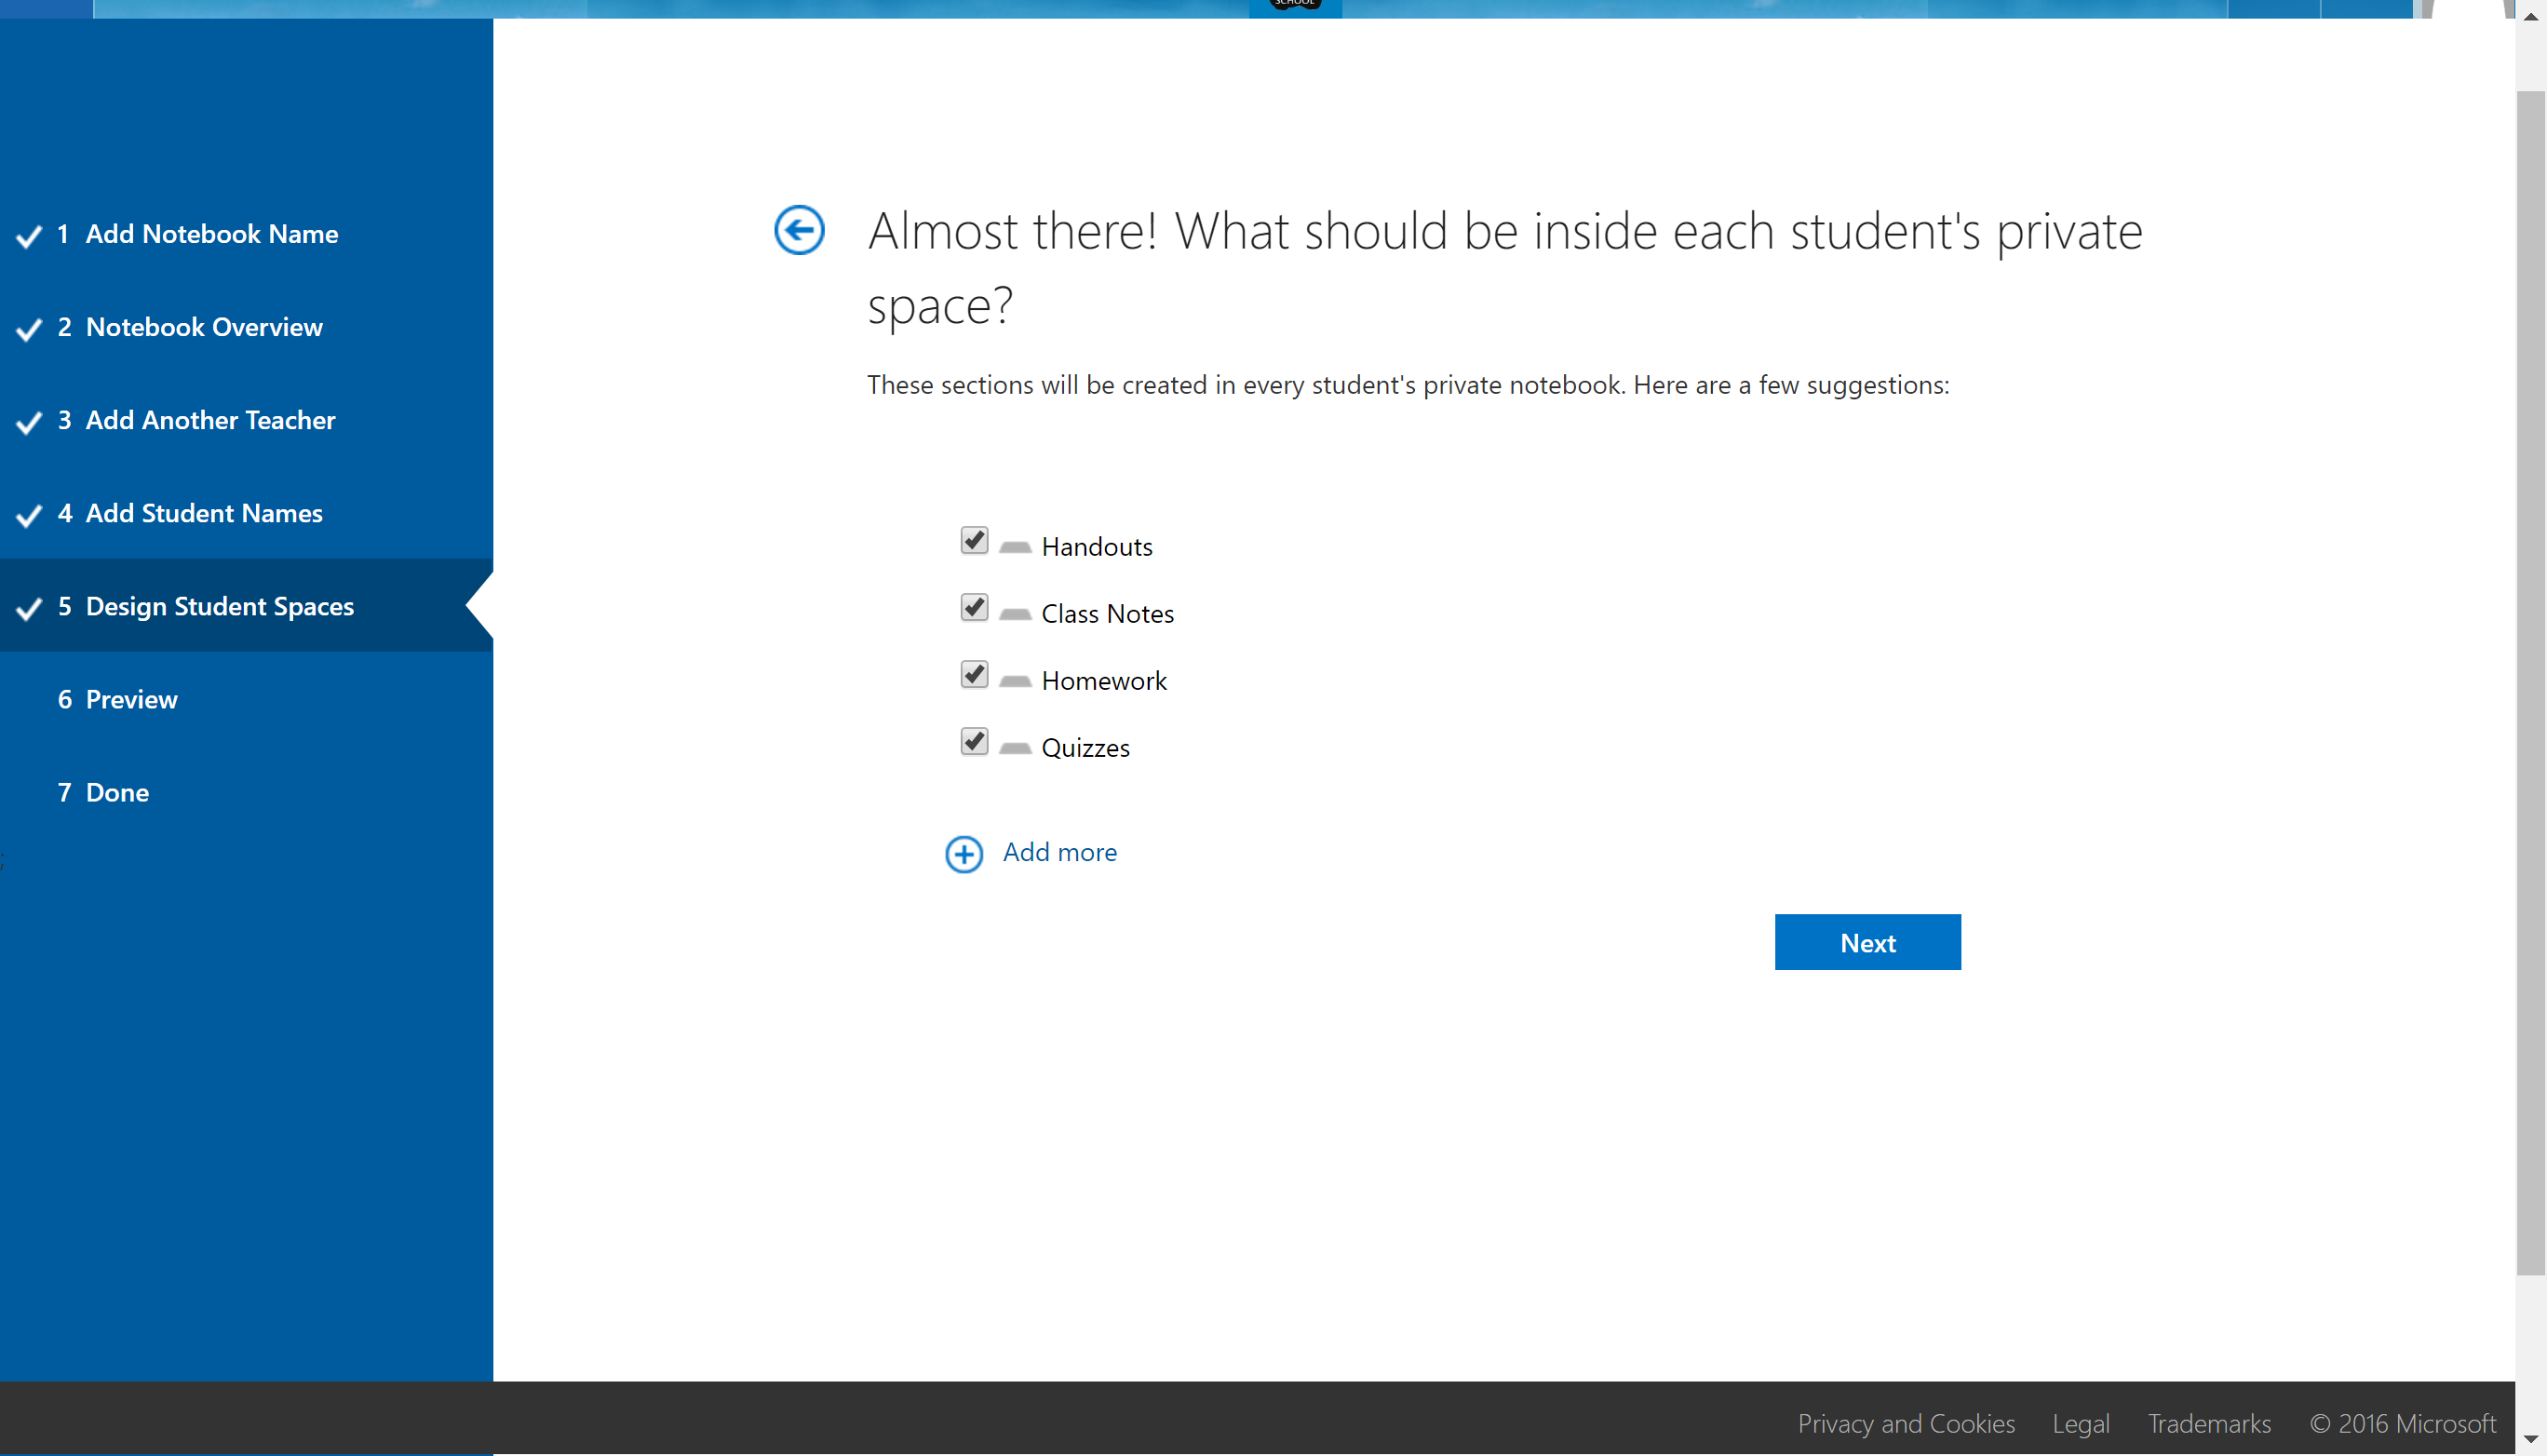
A notebook automatically comes with four sections. You can choose to add all of the automatic sections, add sections or choose less sections. Once finished, press “Next” to continue.
You will receive a preview of what the Notebook will look like. The first preview is the Teacher’s Notebook. You can also click on the “Student’s Notebook” to view what the student will see.
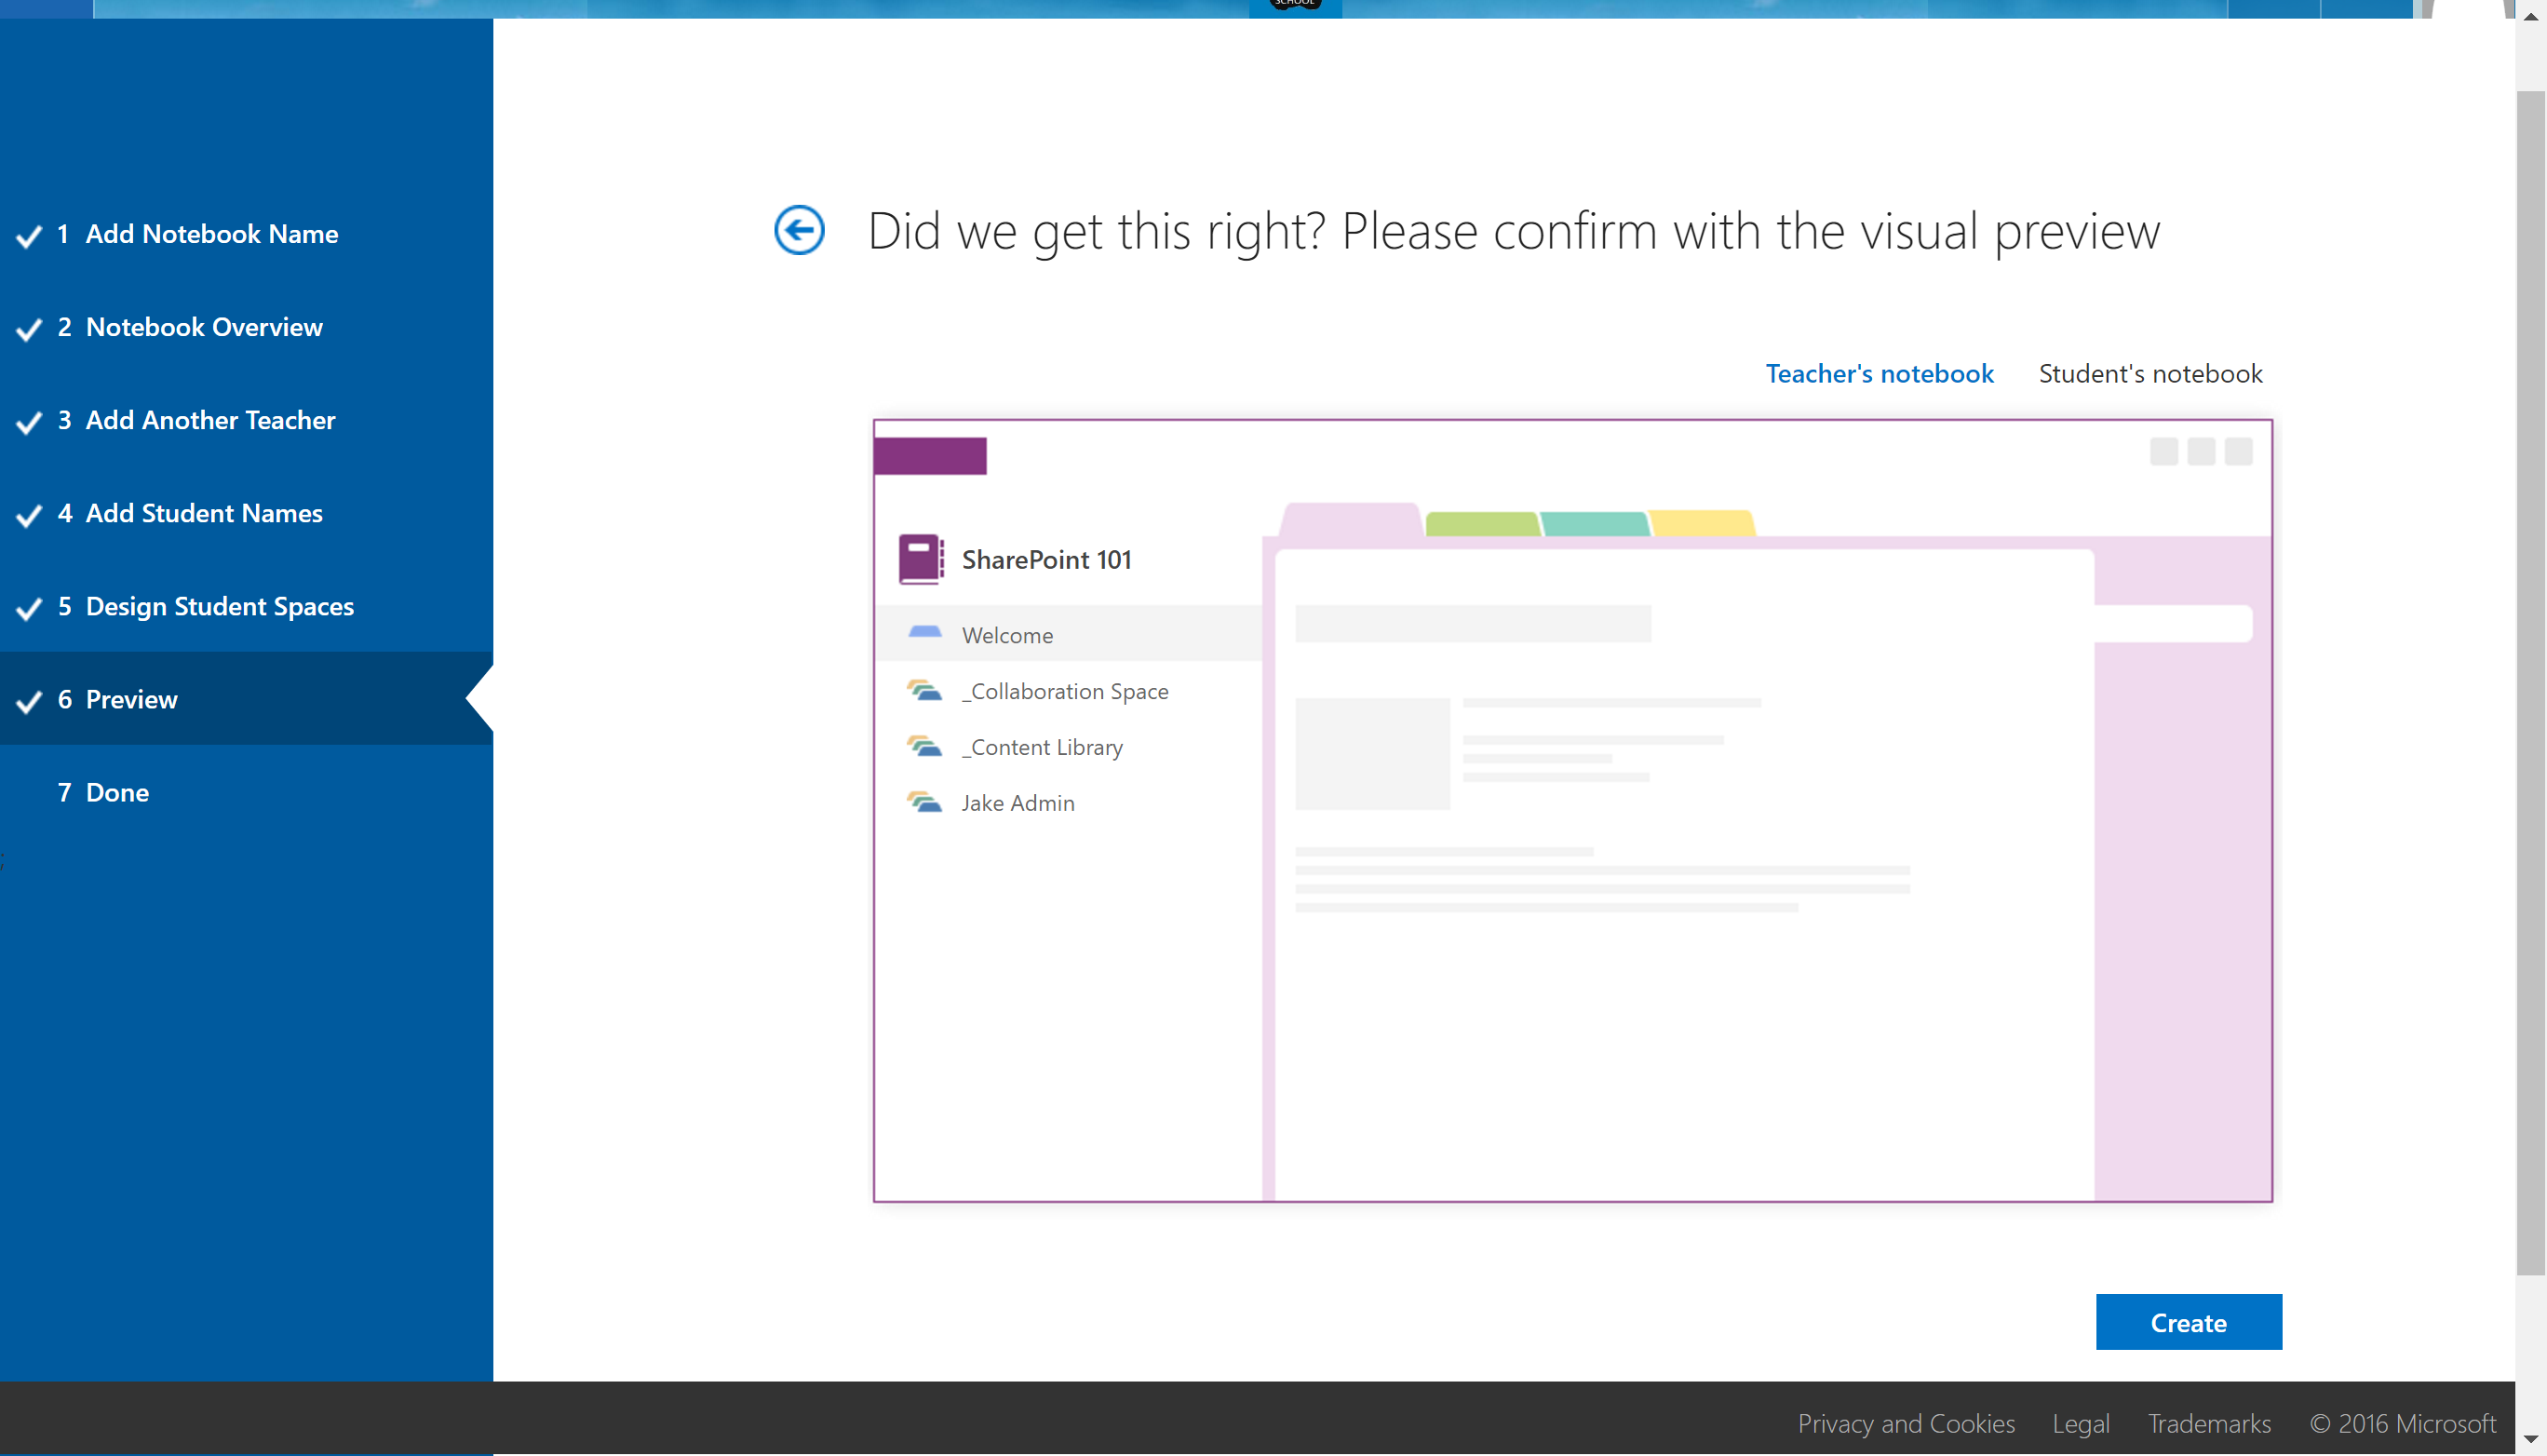
Student’s Notebook
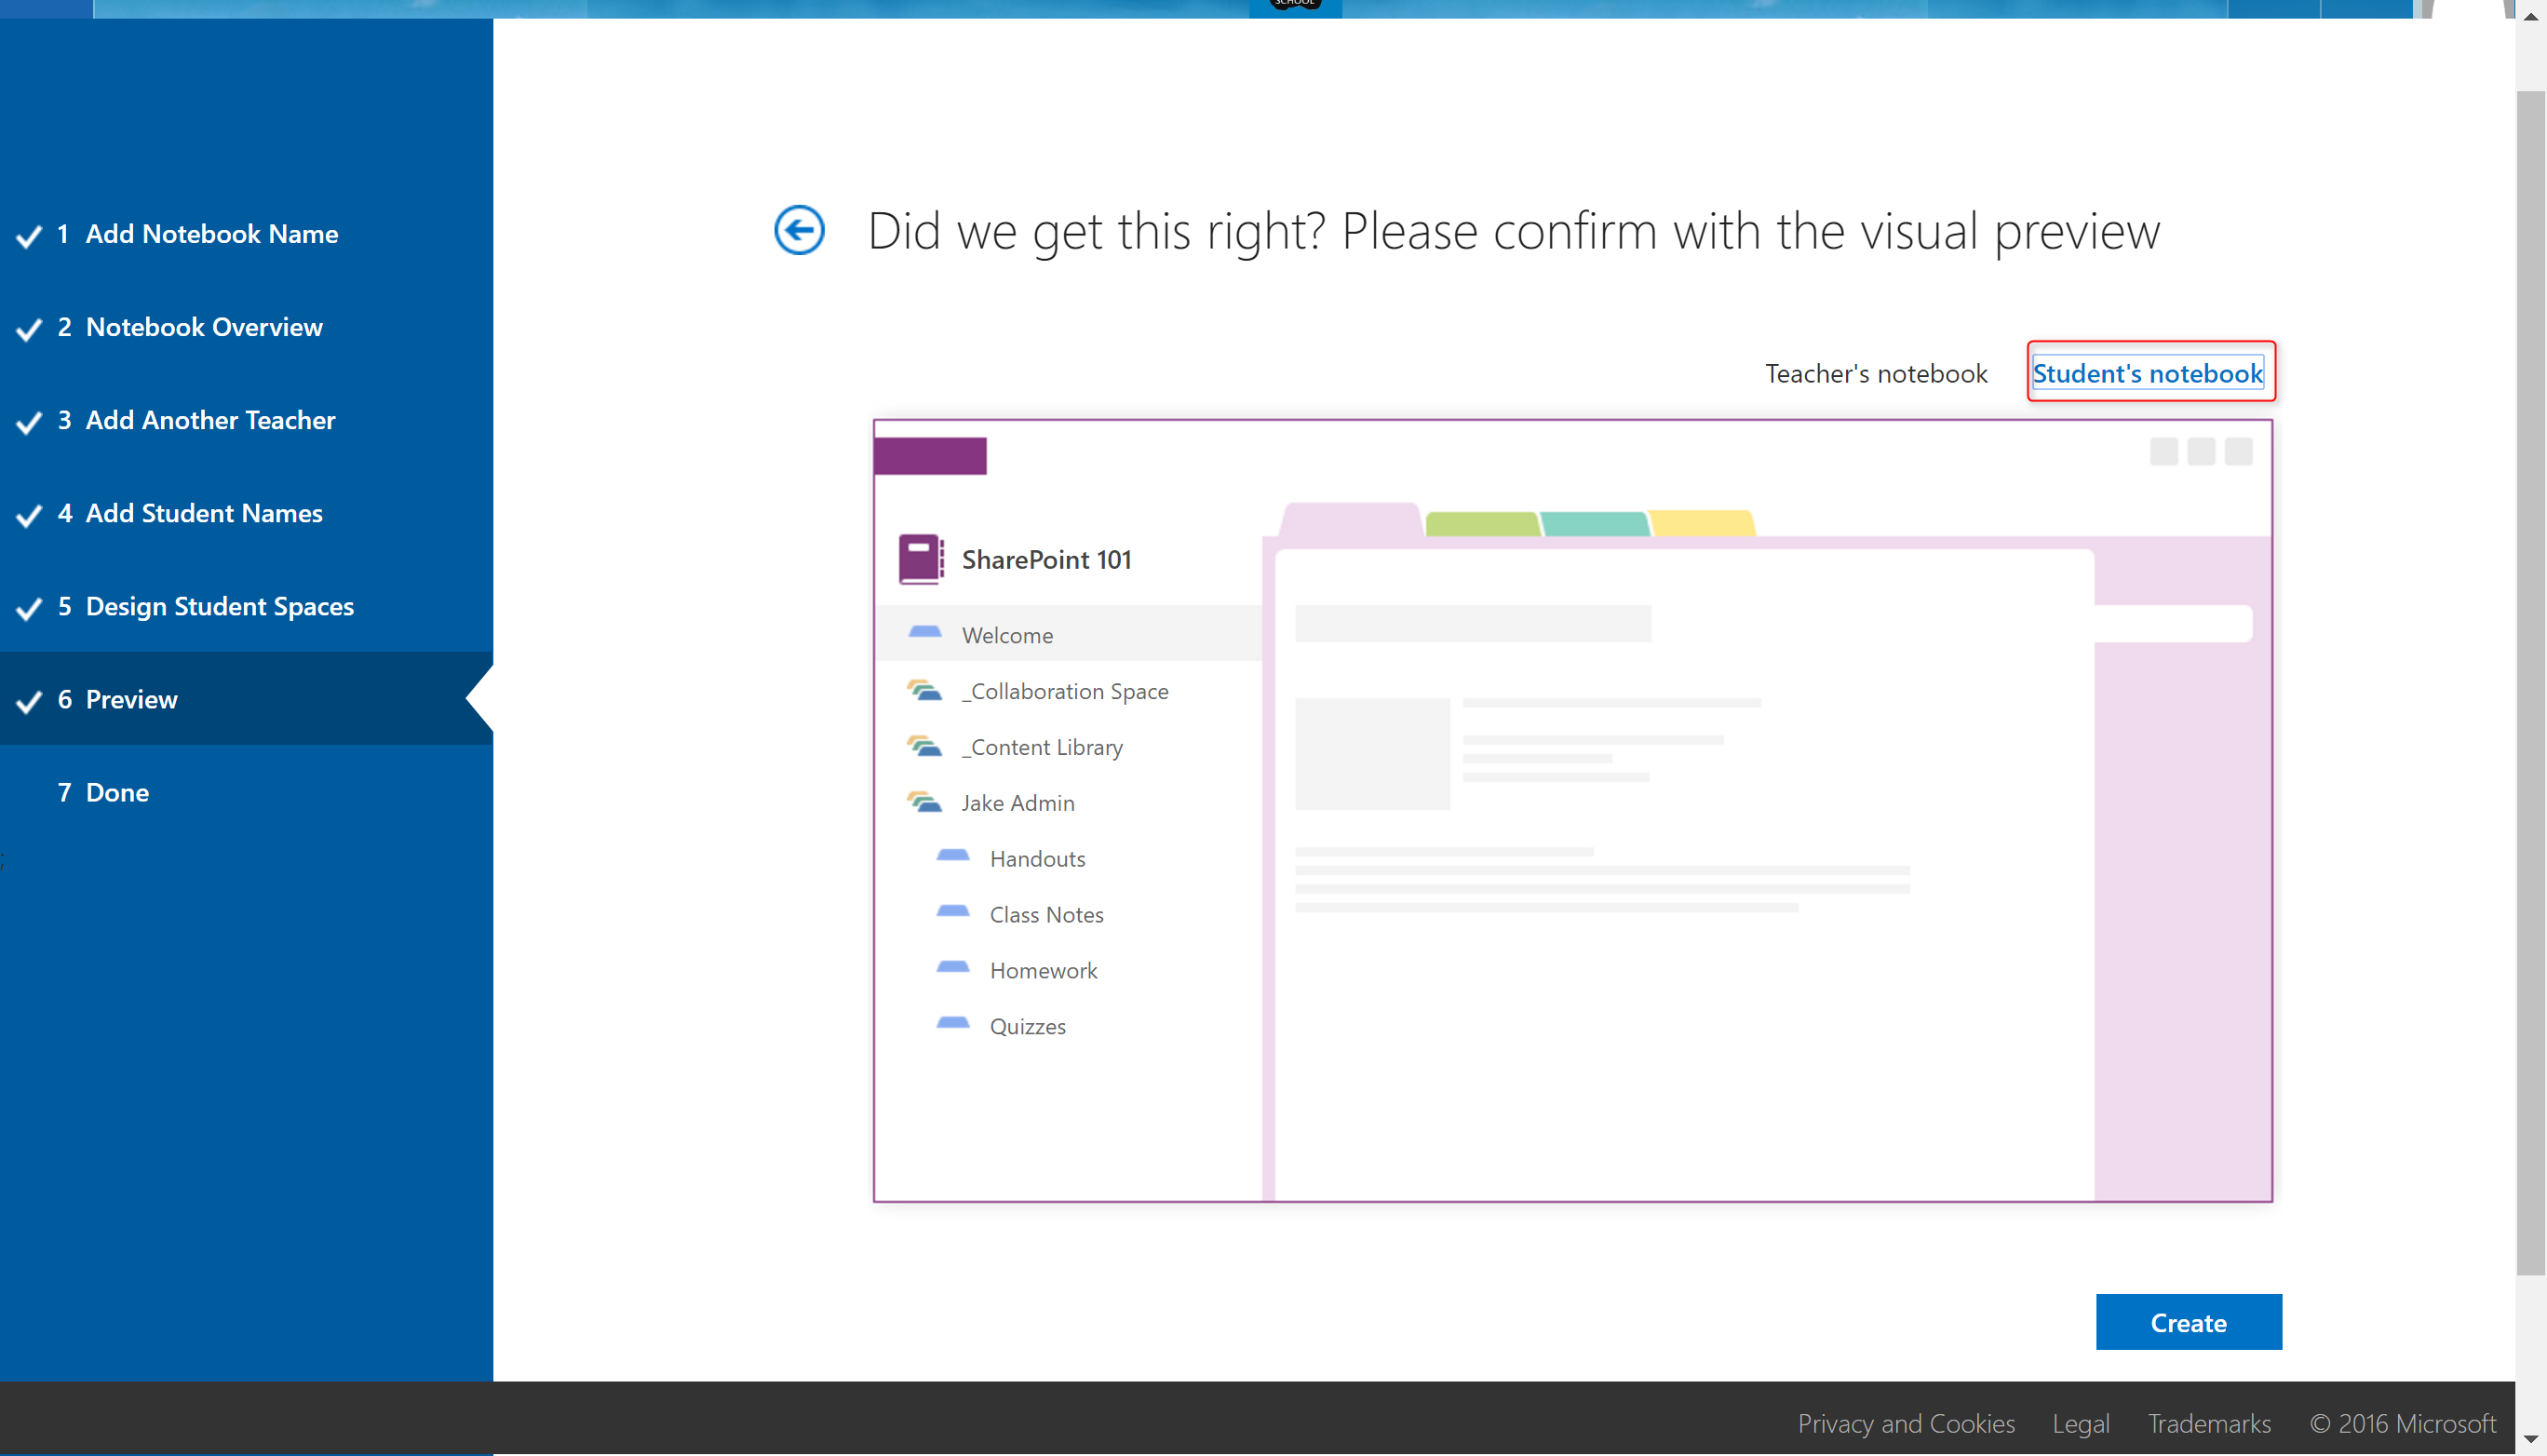
Press “Create” to finish the provisioning.
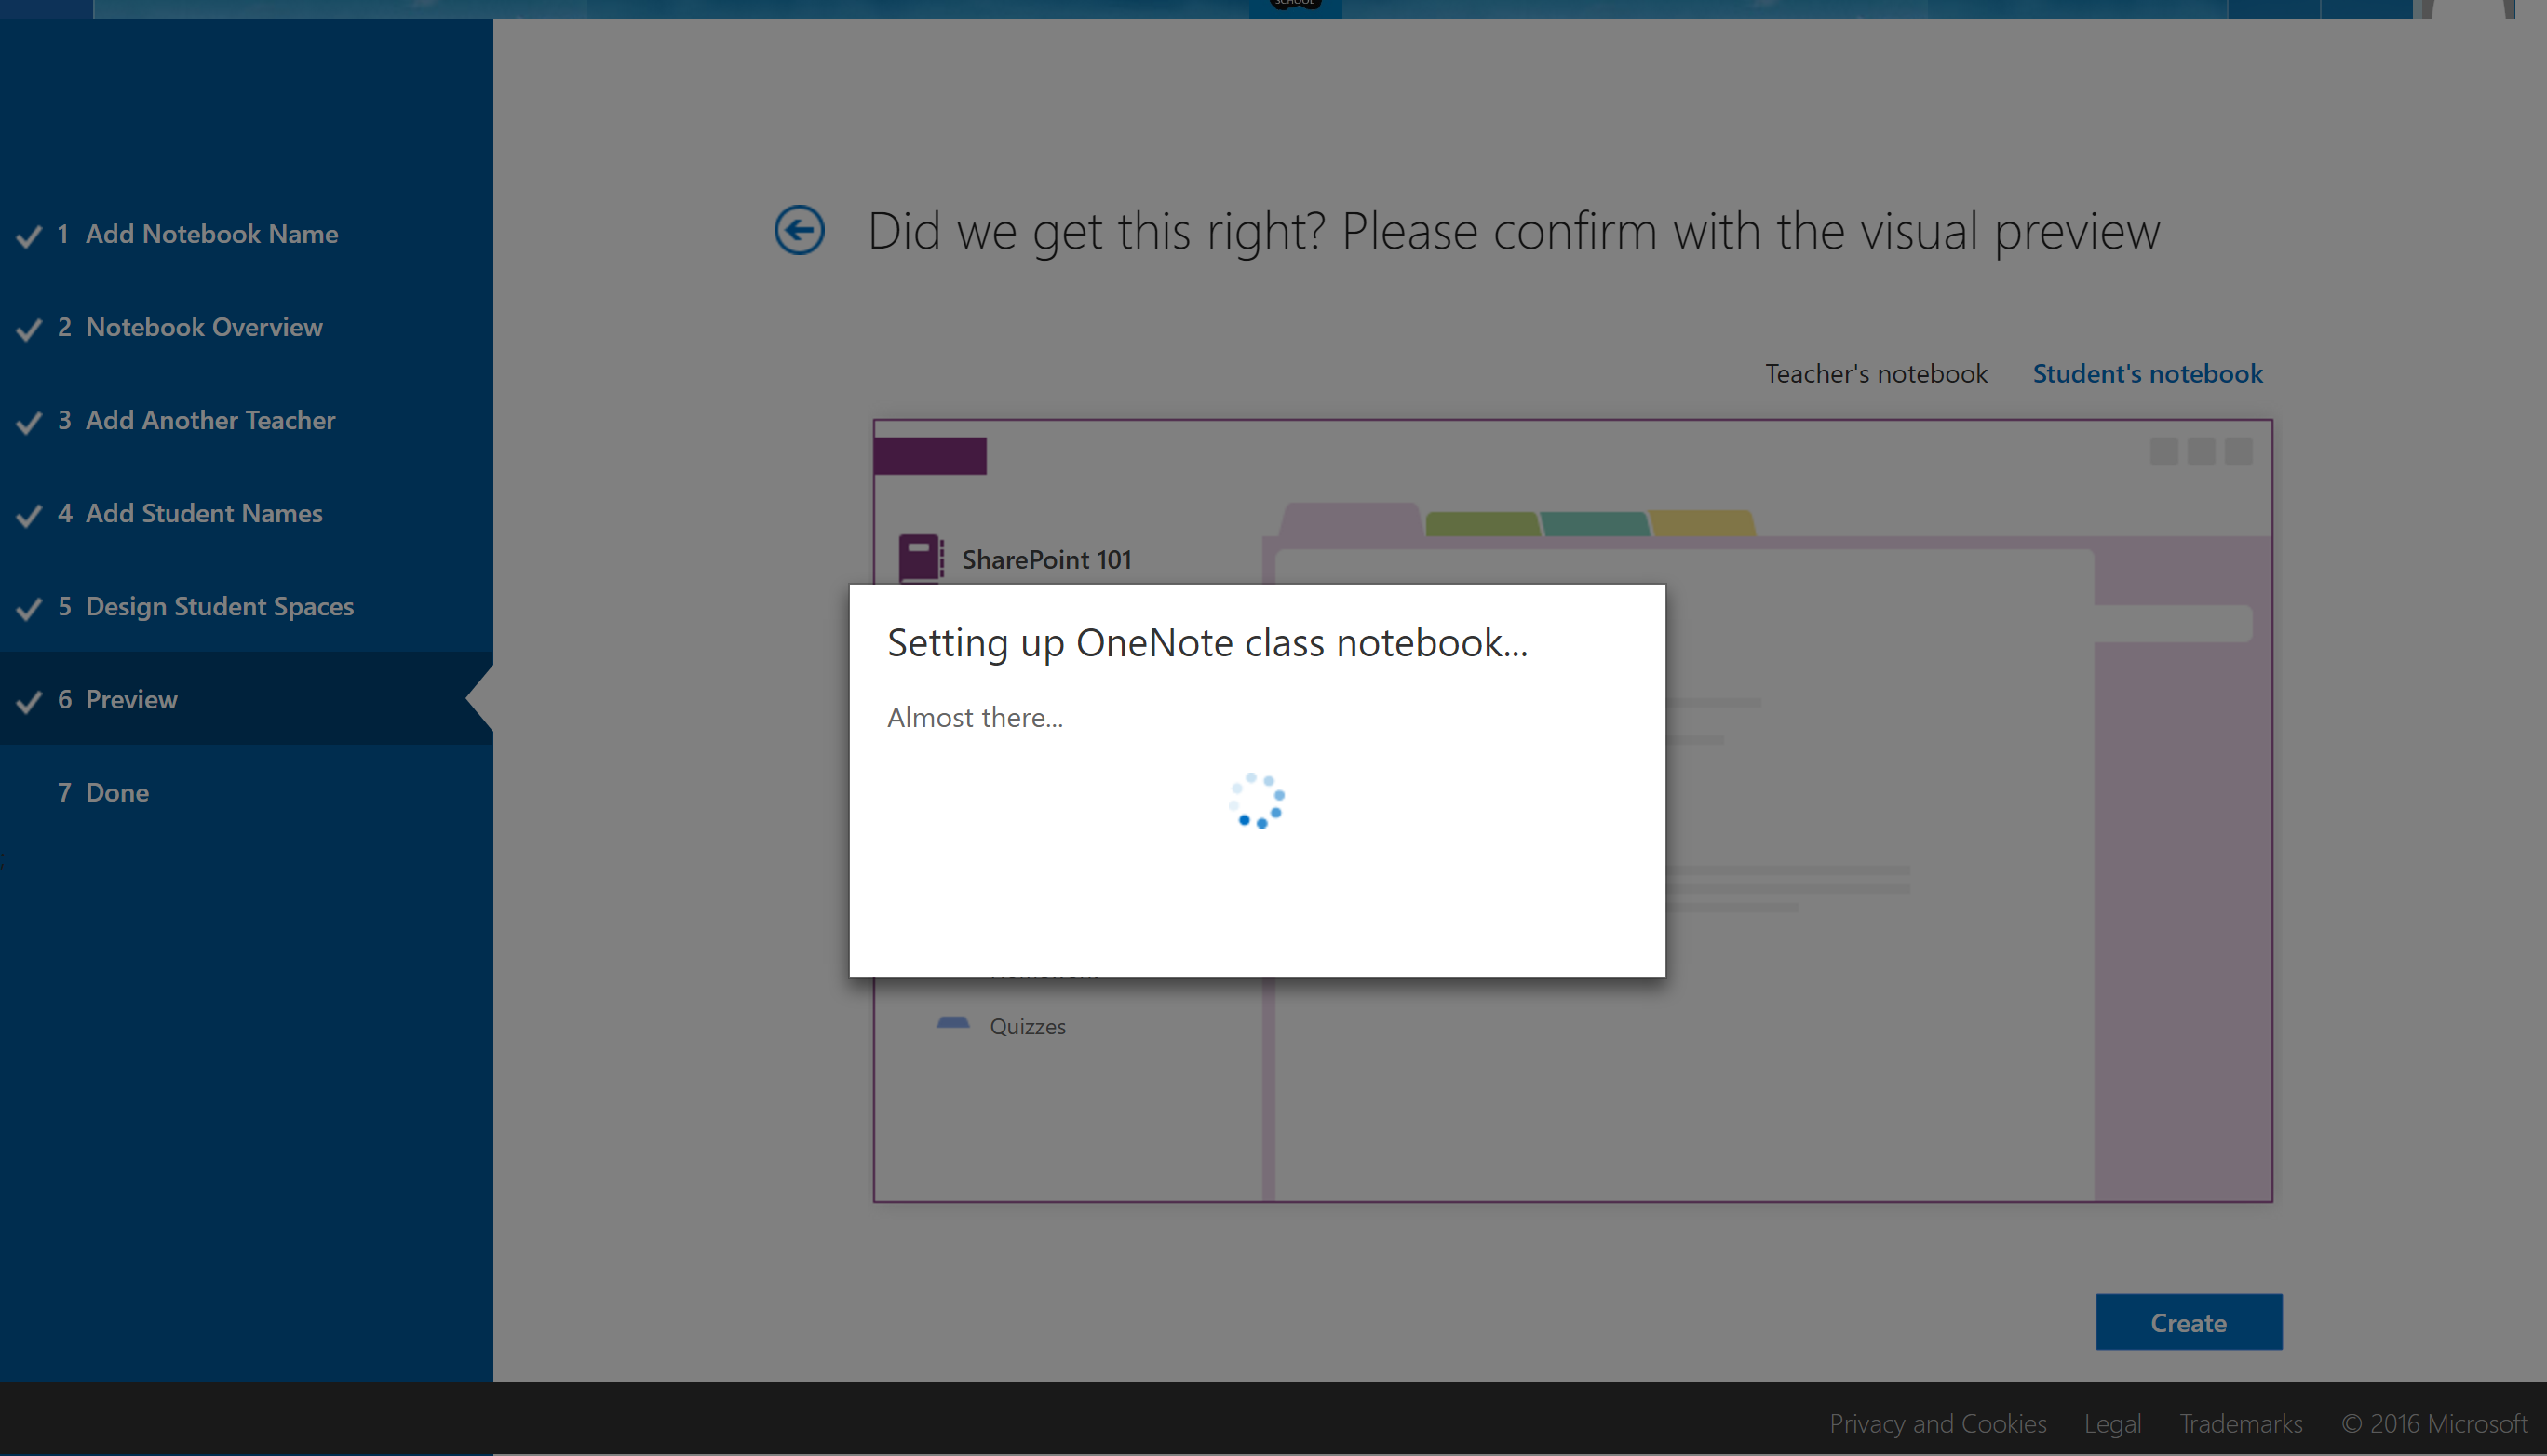
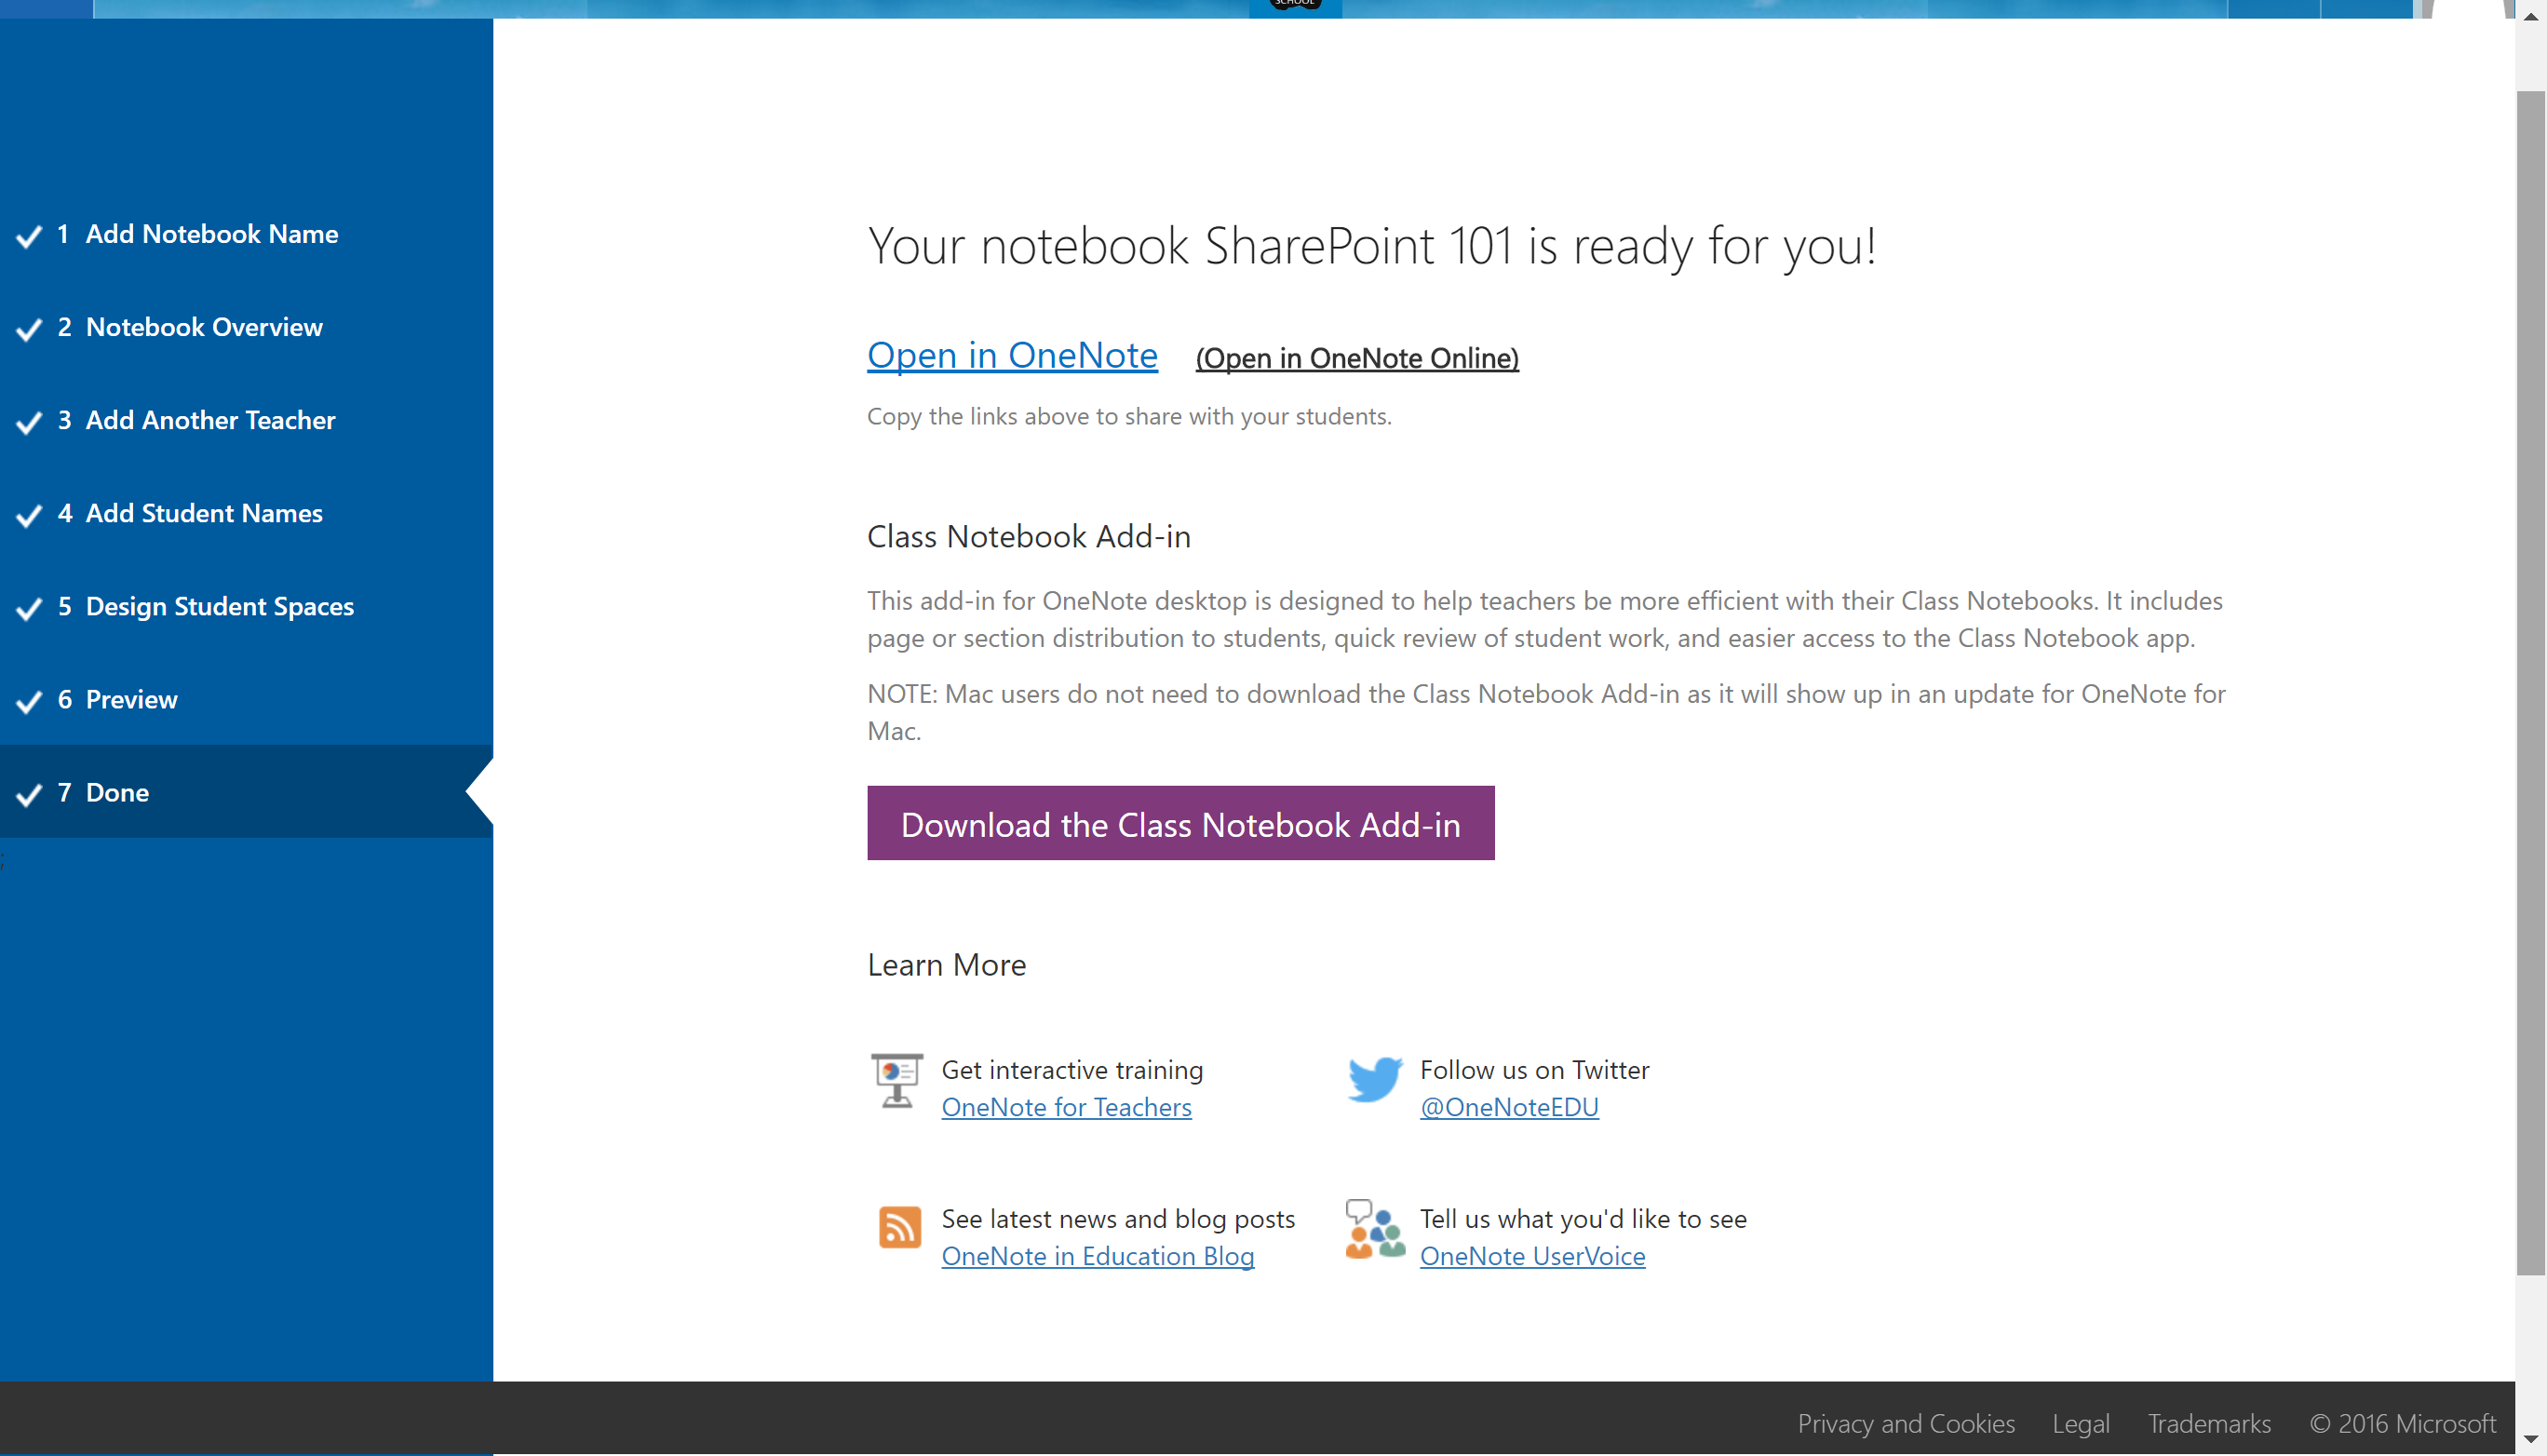
You will be prompted once your Notebook is ready.