Introduction
Microsoft Teams has recently launched a new feature that allows users to apply video filters during video calls. These filters can help add a fun and creative element to your video calls, and can also help you look your best on camera. In this blog post, we will discuss how to use the new video filters for Microsoft Teams.
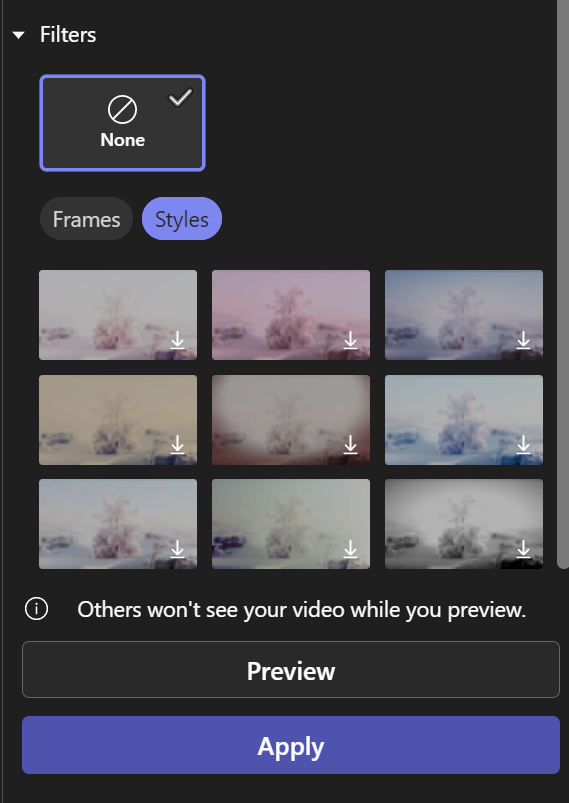
Applying Video Filters
To apply a video filter during a video call, simply click on the three dots in the upper right corner of the screen. From there, click on “Show device settings” and select “Video filters.” You will then be able to choose from a variety of filters such as “warm,” “cool,” “black and white,” and many more. Once you have selected a filter, it will be applied to your video feed in real-time.
Adjusting Video Filters
If you want to adjust the intensity of a video filter, you can do so by clicking on the “Adjust” button below the filter. This will open a slider that allows you to adjust the intensity of the filter to your liking. You can also combine multiple filters at once by selecting “Add filter” and choosing another filter to apply.
Saving Video Filters
If you have found a video filter that you really like, you can save it for future use. To do this, simply click on the “Save” button below the filter. This will save the filter in your device settings so that you can easily apply it during future video calls.
Conclusion
The new video filters for Microsoft Teams are a fun and creative way to add some personality to your video calls. By following these simple steps, you can easily apply and adjust video filters to enhance your video call experience. Give them a try during your next video call and see how they can help you look your best on camera!